What is the Retroid Launcher?
The Retroid Launcher is Retroid’s default frontend that they ship their devices with, and surprisingly, it’s pretty good.
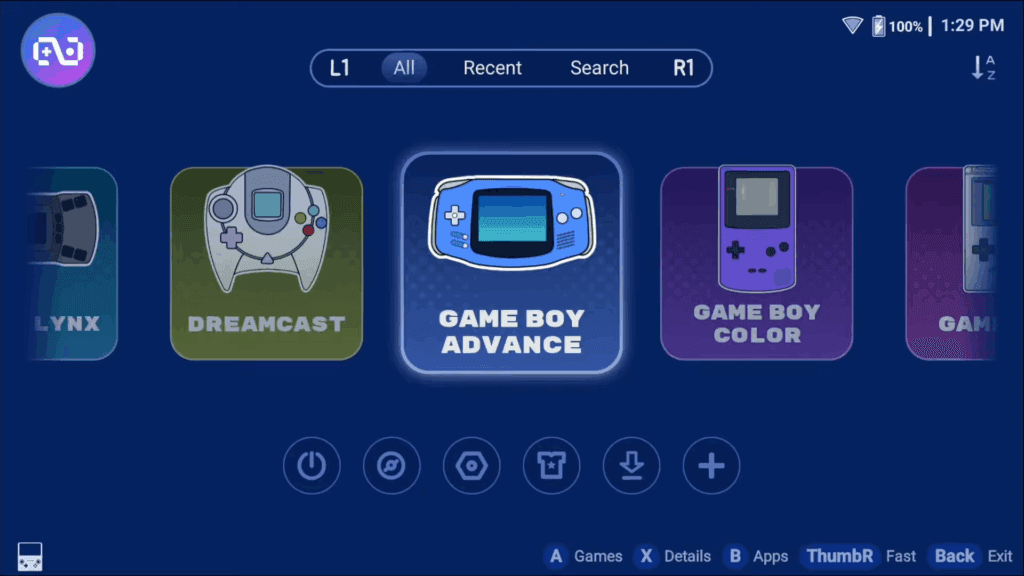
I think most people should use Daijisho or Beacon Launcher or EmulationStation instead, but if you just wanted to use Retroid’s Launcher out of the box, it’s more than fine and today, I’m going to explain it all to you.
Setup
There’s two ways to start up the Retroid Launcher, during the first initial setup of the device, you can select it as the option of your launcher.
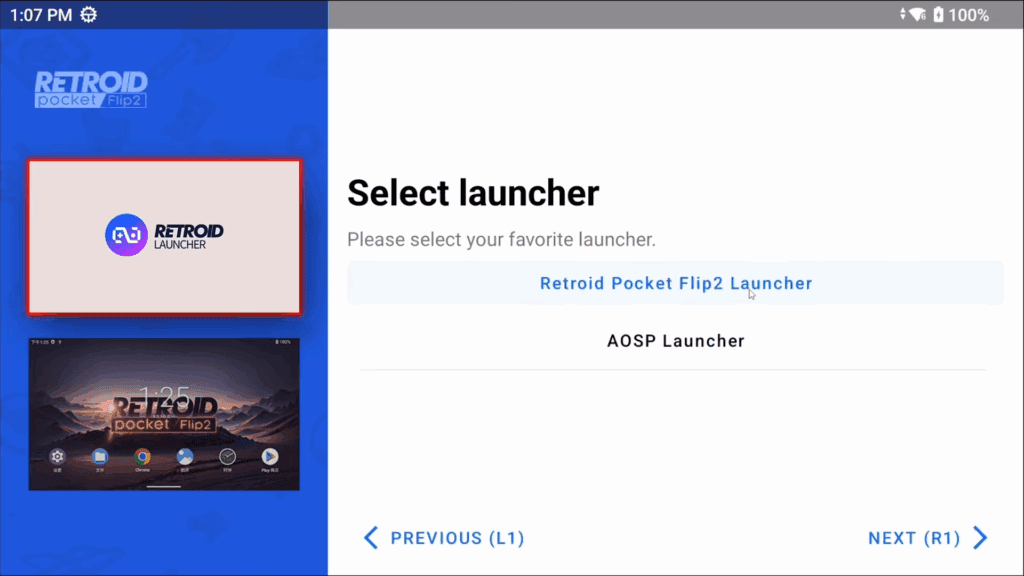
Or alternatively, it’s just an app so you can open it via the home screen if you chose the AOSP launcher instead.
If you’re going this route, you’ll want to head to Android’s Settings > Apps > Default Apps > Default Home app and change it to Retroid Launcher.

That way it boots to that on startup and your home button takes you to it when you use it.
Once you jump in, the first thing it’s going to ask you is if you want to go through their tutorial.
I’ll be honest, it’s actually a very good tutorial and you can turn it on if you want but it will force you to follow their directions.

I’ll be covering everything they did anyway, so you can click Skip.
How to update
First thing we need to do is check for updates, click the eye looking icon second from the left and then head to the Update tab.
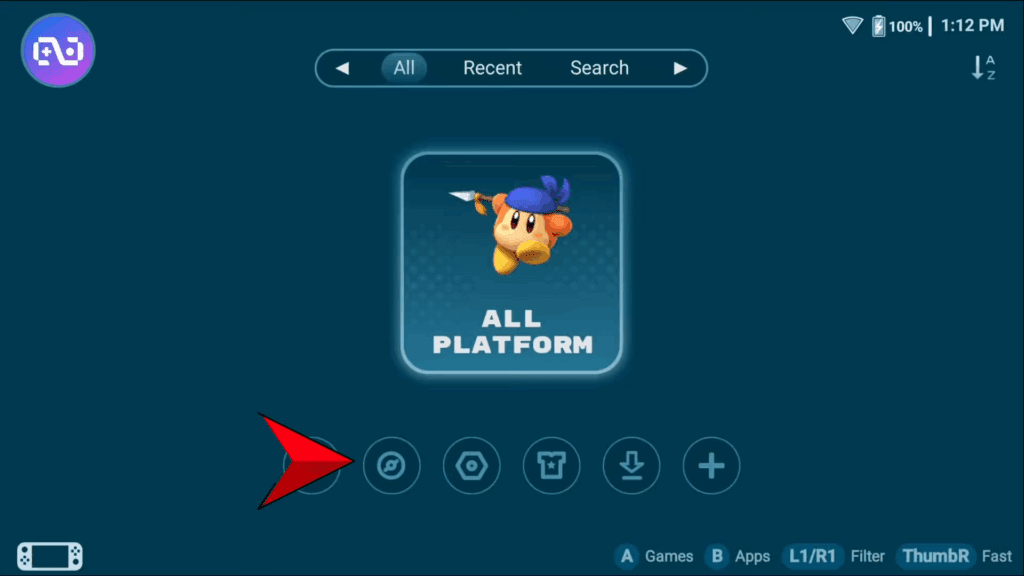
If it gets stuck on Checking for updates for longer than 30 seconds, then you have an old version of the app and this will never work.

If it doesn’t get stuck and you see an update, awesome, easy update just do it there.
For everyone else, head to the Github tab, and then Github Repository.
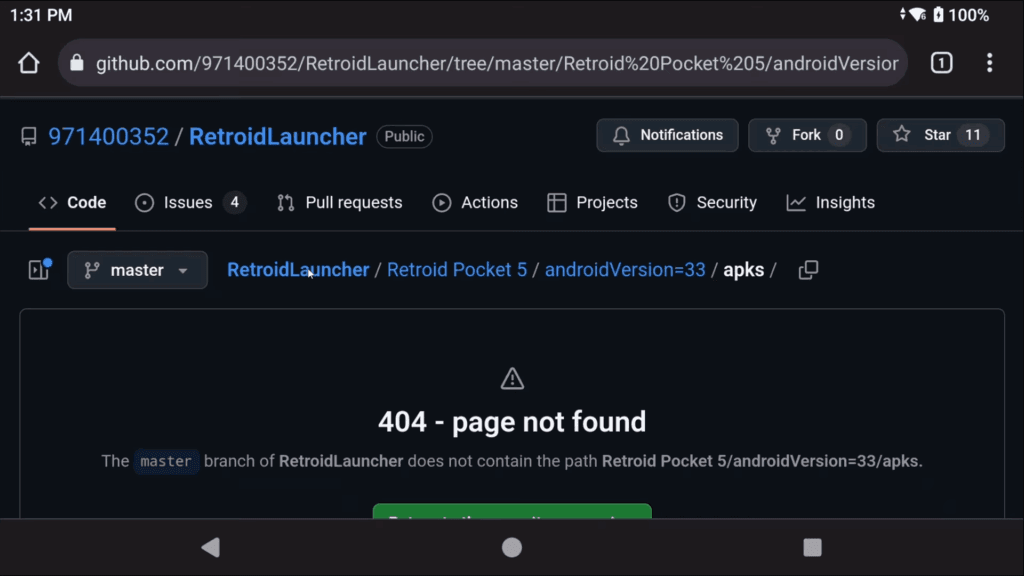
Mine brought me to a 404 page not found.
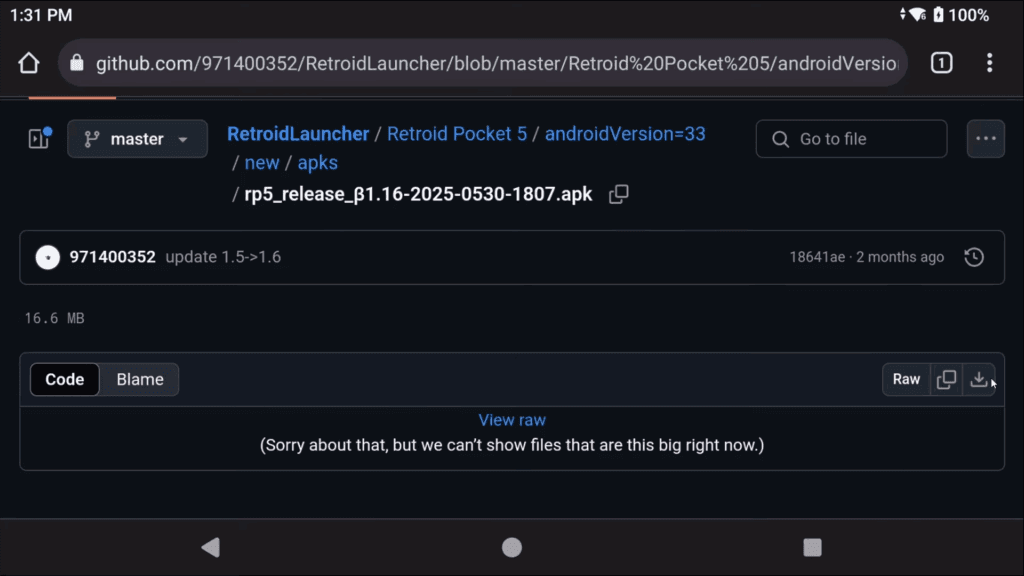
Click RetroidLauncher then select your device from the list, Flip 2 would be Retroid Pocket 5 for example.
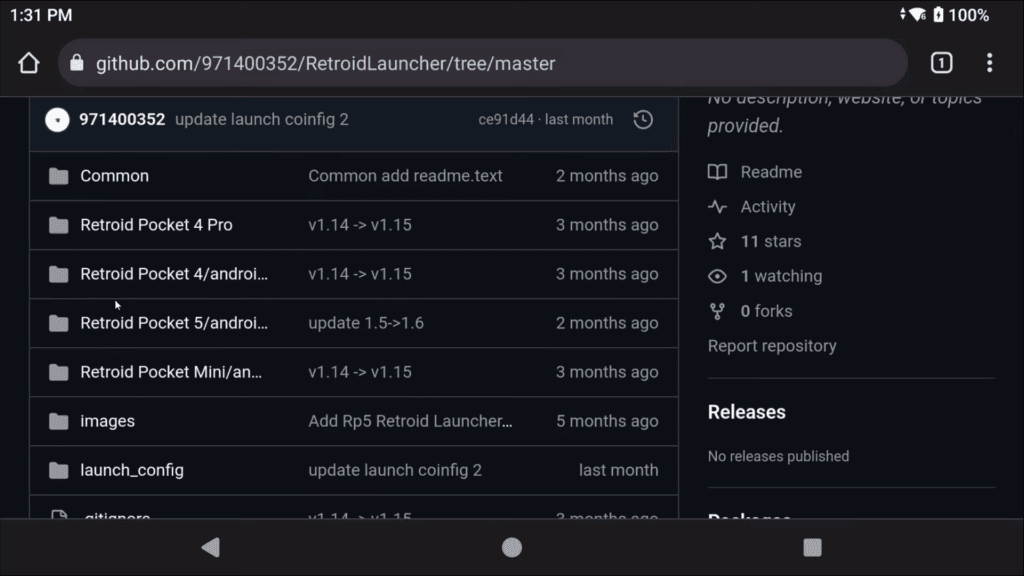
Choose new > apks > and then the newest one.
Click the Download raw button on the right, then open the APK we just downloaded to install it – you may need to grant permissions to Chrome or whichever browser and then click Update.
Head back into your new updated Retroid Launcher.
Adding Systems
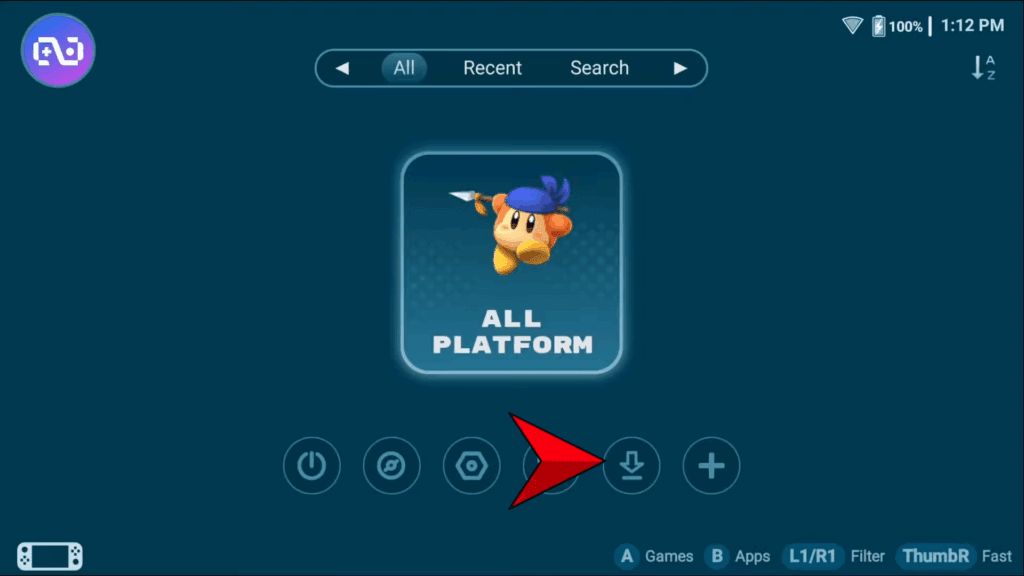
First things first, we want to tell the Launcher what systems we have games for so click the Download looking icon and you’ll see a list of systems.
You can individually checkmark the systems you have or click All if you want them all.
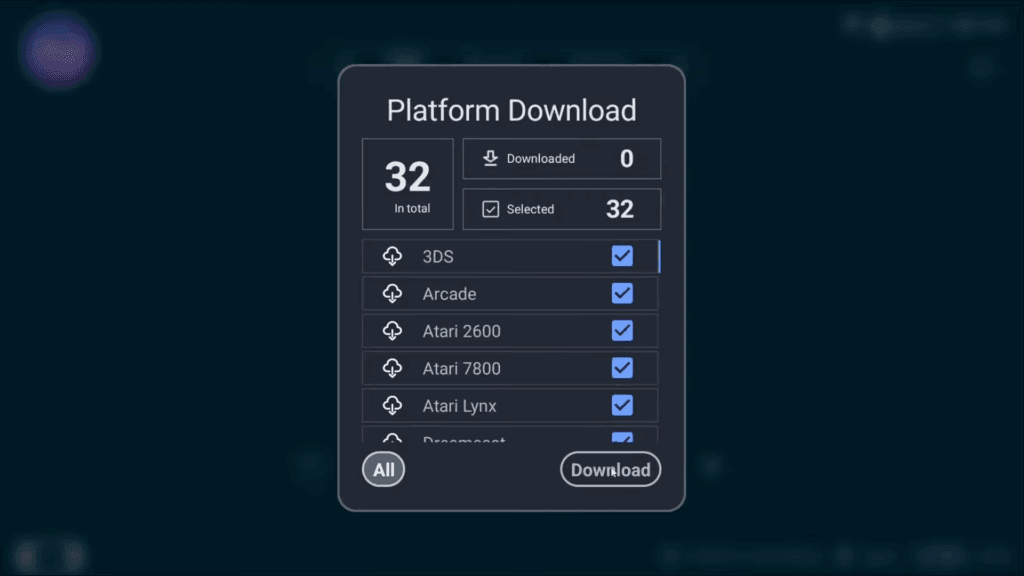
If you don’t have games for all those systems, All will clutter your screen up a bit, so I’d suggest going individually and choosing what you want then click Download.
It’ll take some time, you can check progress top right with the download notification.
Settings
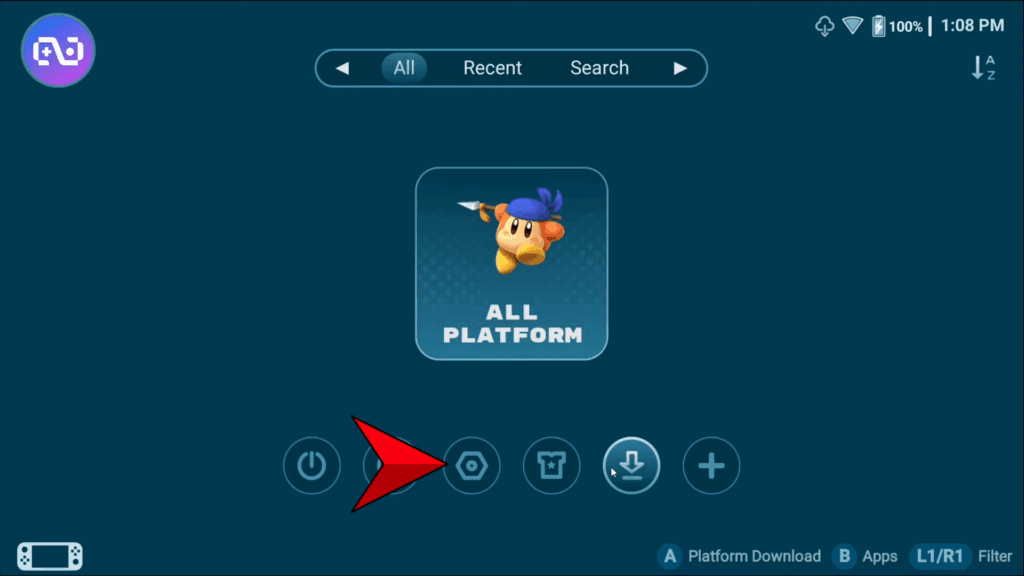
In the mean time, head to the Settings icon, third from the left, and we can see a few things in this menu.
Scan
Nothing to change in Scan, so head to Launching.
Launching
Turn both of these off.

What these options do, is if you don’t have the emulator or core installed, it will use a temporary one or another one that you didn’t want.
This can get dangerous, and can lead to just some real bad times.
RetroArch
Head to Retroarch.
This is where you can see which RetroArch version you have and it will show your installed cores.

This is outside this guide, but you should follow my guide to get RetroArch 64-bit installed if you don’t have it and you want to use that in all scenarios.
Backup
In the Backup tab, you can backup all your data and then restore data, if you want to move to a new device or after a factory reset.

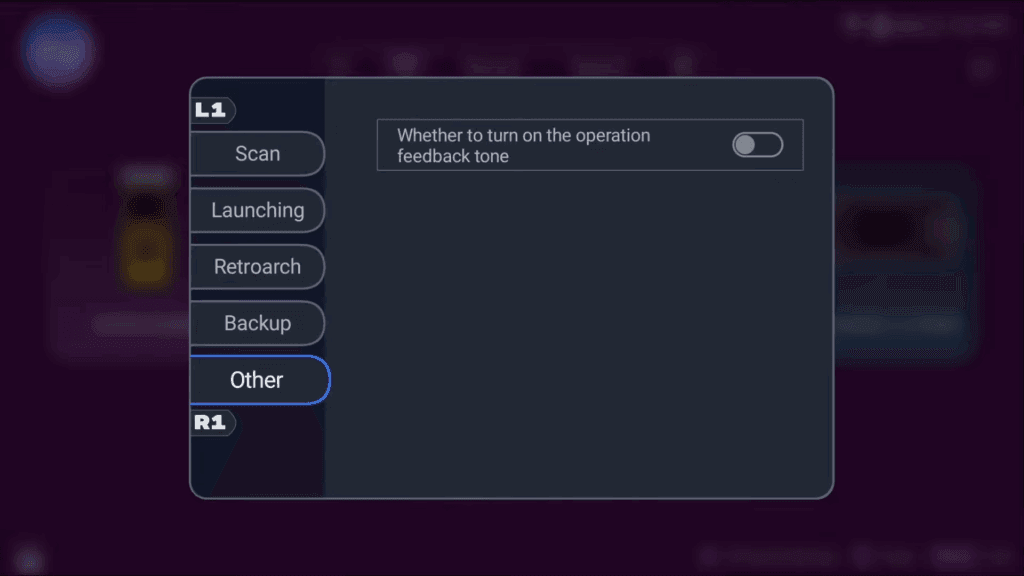
Other
Other tab has a single setting which we can leave off.
Appearance
Head back and this time let’s do the t-shirt looking icon for Appearance settings.
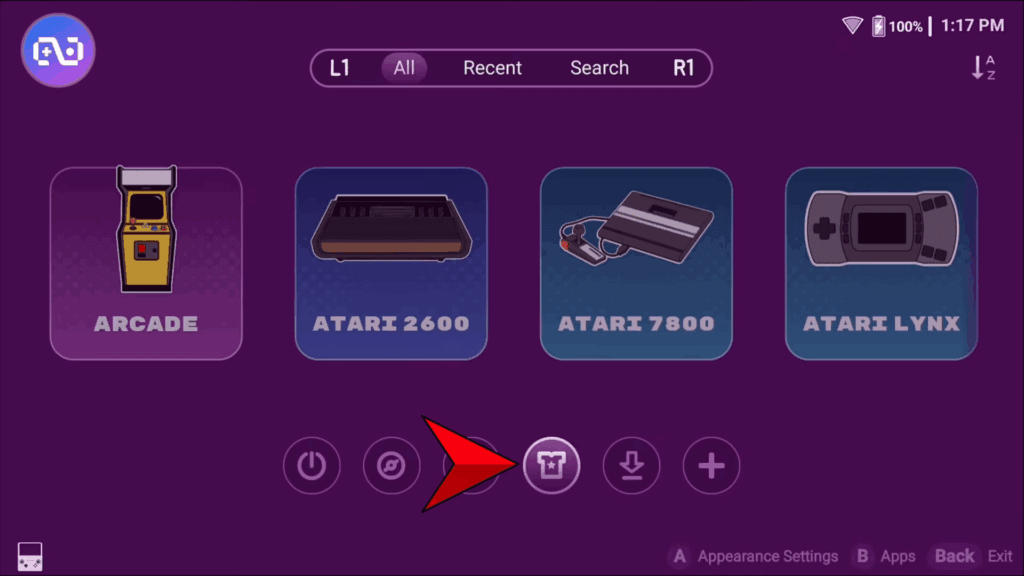
A lot of these settings will be personal preference things, so you can see what they do and try them later if you’d like.
Game Grid/Game List
Personally, I turned on background image for Game Grid and Game List and I’ll show you later what that looks like.

Handheld
A very fun option in the Handheld tab is having your LED lights on the device match the color of whatever system you’re in.
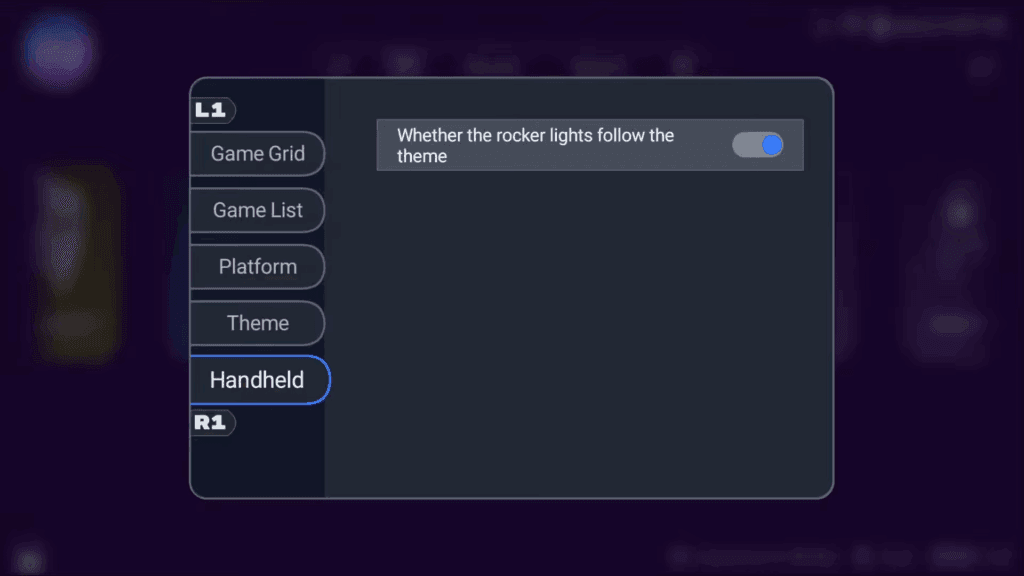
It’s fun, I like it, turn it on.
Android Apps
Alright so from the home screen, if you’re wondering how you can see all your installed Apps and such, you just push B and they’re all there.
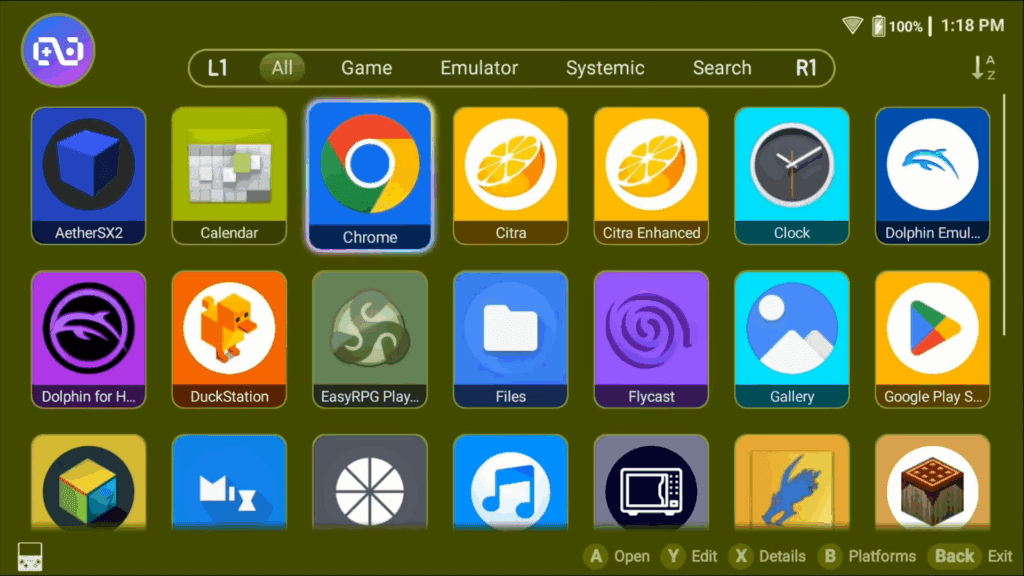
You’ll notice some filters at the top, for Game, Emulator, Systemic and such.
What you can do, is push Y on any Application to Edit it, and you can set what it is so that you can filter all of these to whatever you want to see or organize it better.
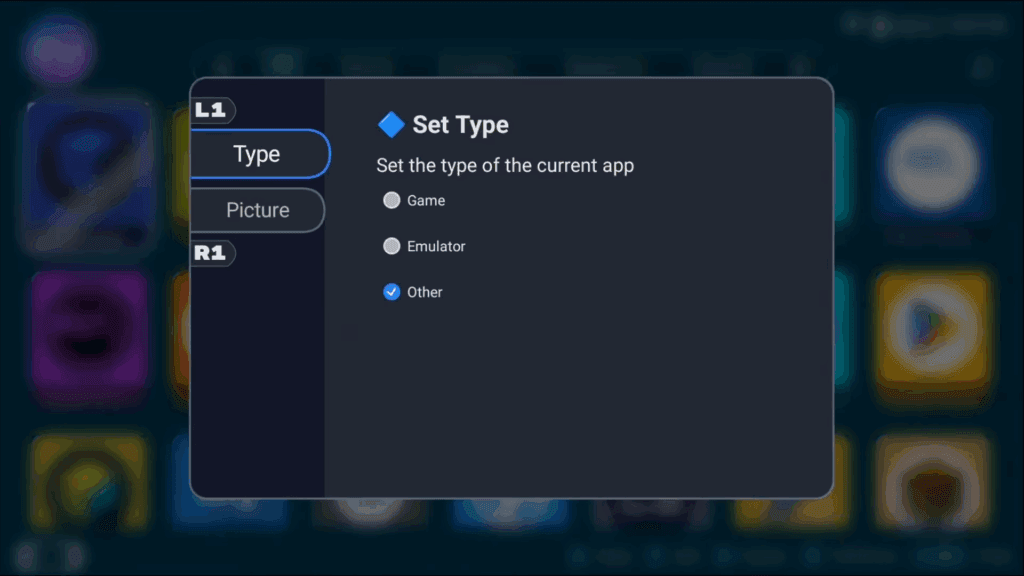
Otherwise this is how you can access all your Apps.
Push B to head back to Platforms.
Adding games to Systems
As of right now, the Launcher has whatever systems we chose here, but inside there’s no games yet because we haven’t told the launcher where the games are for each system.
I’ll start with Dreamcast, go ahead and push X to get the Details page.
First thing we want to do, to make it a habit, is head to the little pencil icon bottom right and select it.
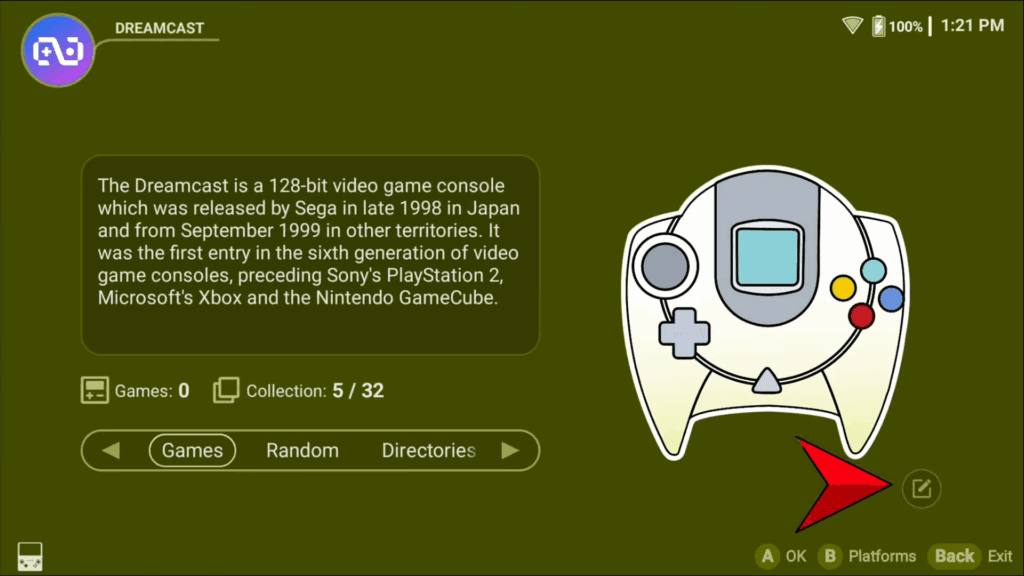
You can make some changes to the platform here, maybe delete it if you added it by mistake and so on.
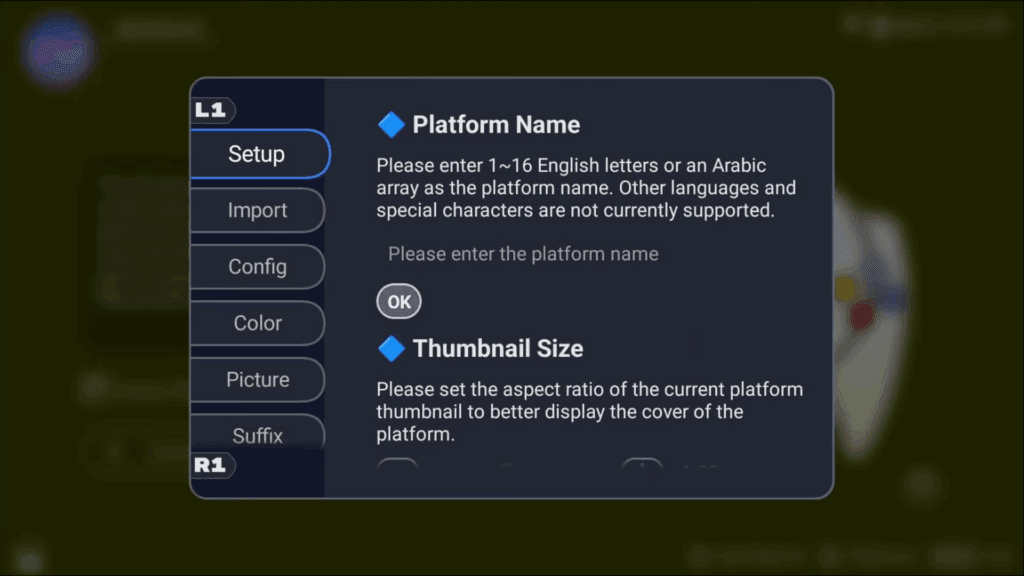
Config
But head to the Config tab. This is important.
Here is where you’re going to tell the launcher which Emulator to use for this system, so for me, it’s Dreamcast.
What do I use to play Dreamcast games?
There’s a list here and I have to tell it.
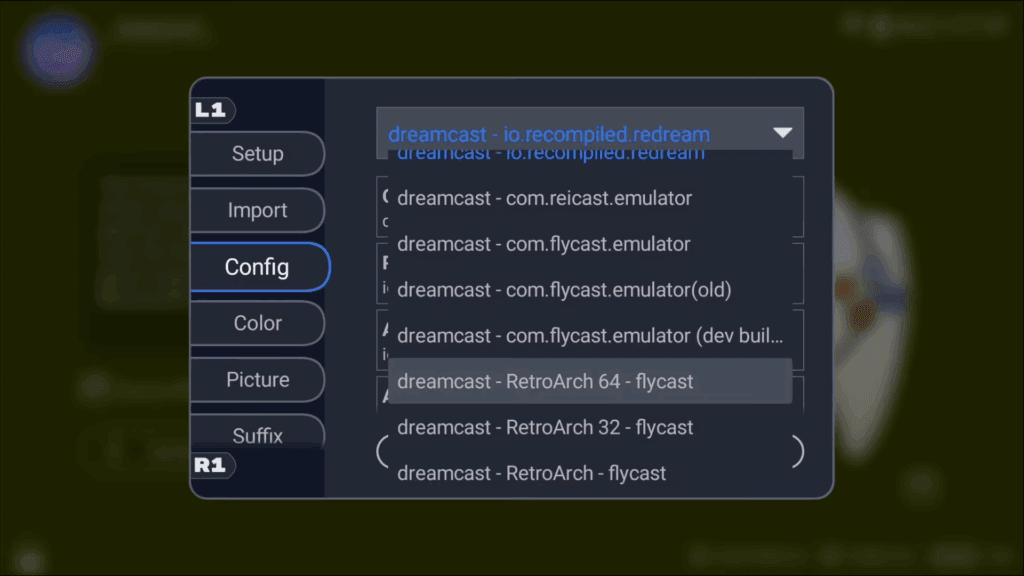
So for me, I know that I use the 64-bit RetroArch version and the Flycast core to play my games so I’m going to choose that. How did I know this? Well, you did follow my RetroArch guide didn’t you?
Color
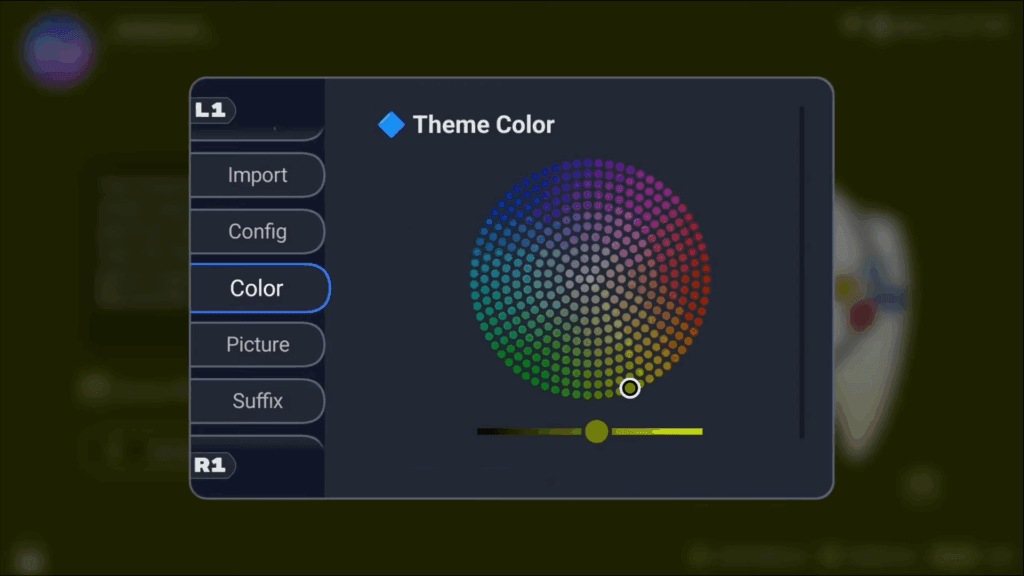
In the Color tab you can change the color of the platform.
Picture
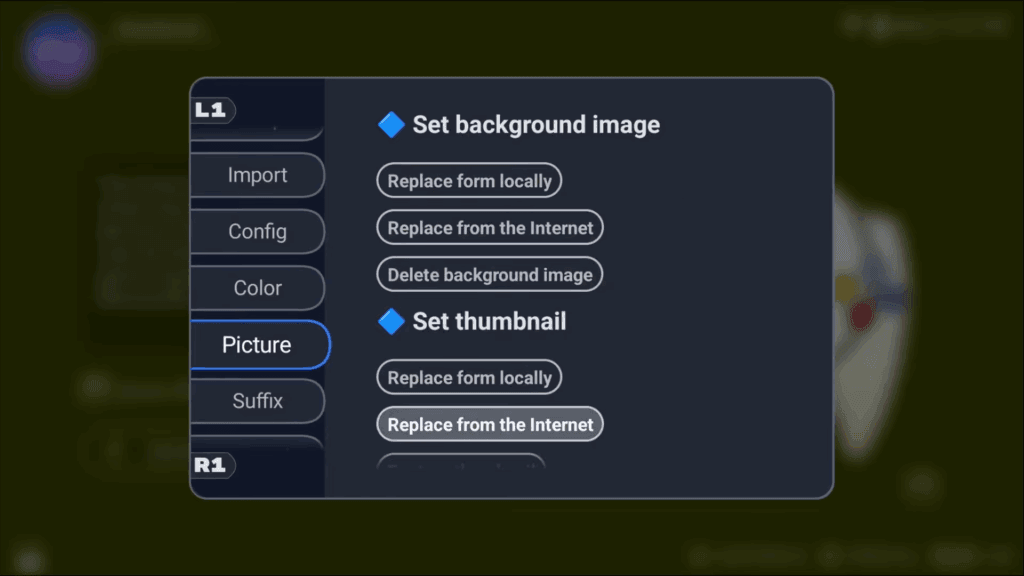
In the Picture tab you can change the pictures.
Suffix
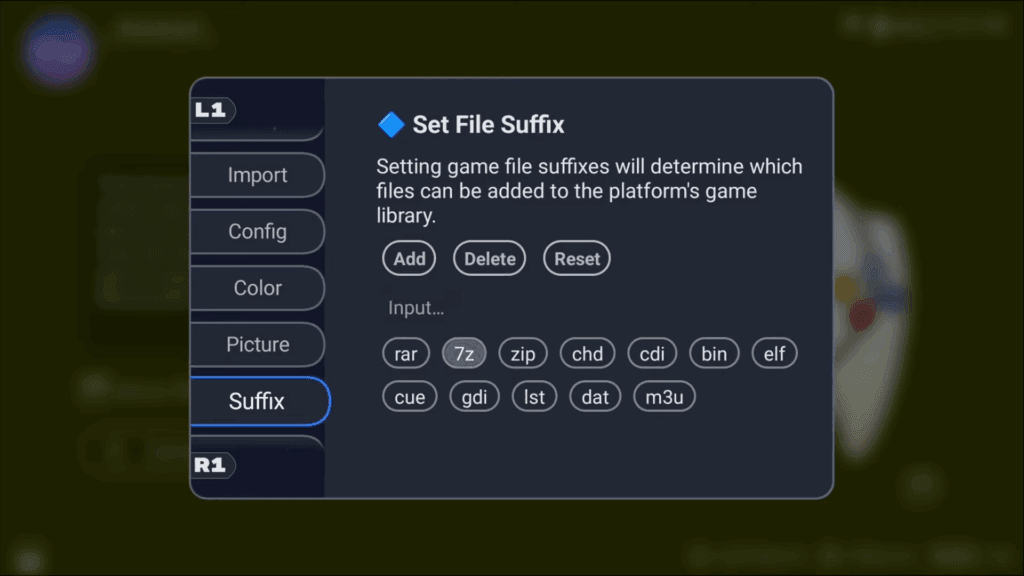
And in the Suffix tab you can choose what file types are associated with this system, which you likely won’t need to touch.
Adding Game Directories to Systems
Head to Directories next and now we’re going to tell the Launcher where our Dreamcast games are.
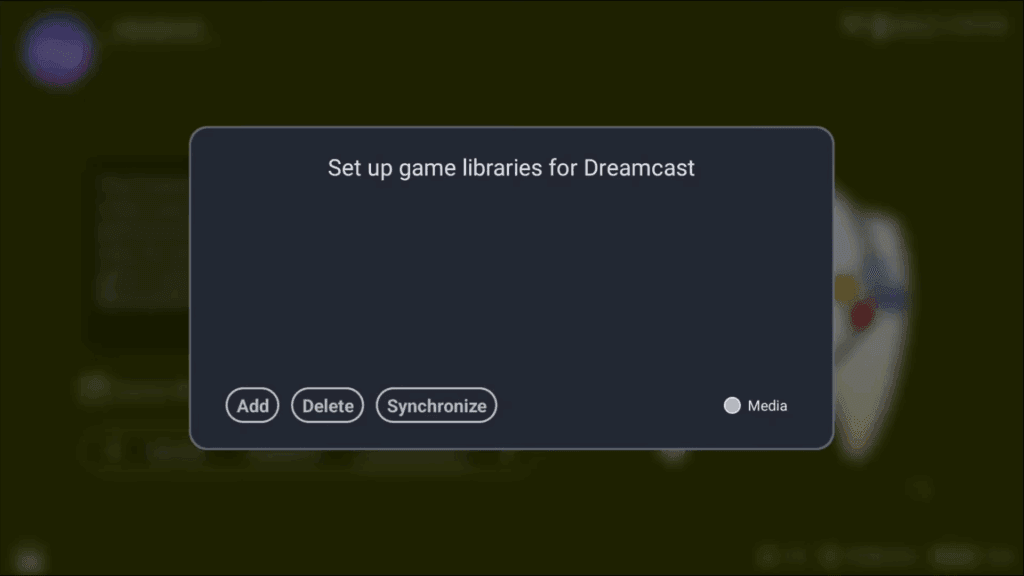
So click Add and browse to the folder that has your Dreamcast games and select it.
Then click Synchronize.

If you check the top right, you’ll see it’s starting to do things, which is adding the games and getting the artwork.
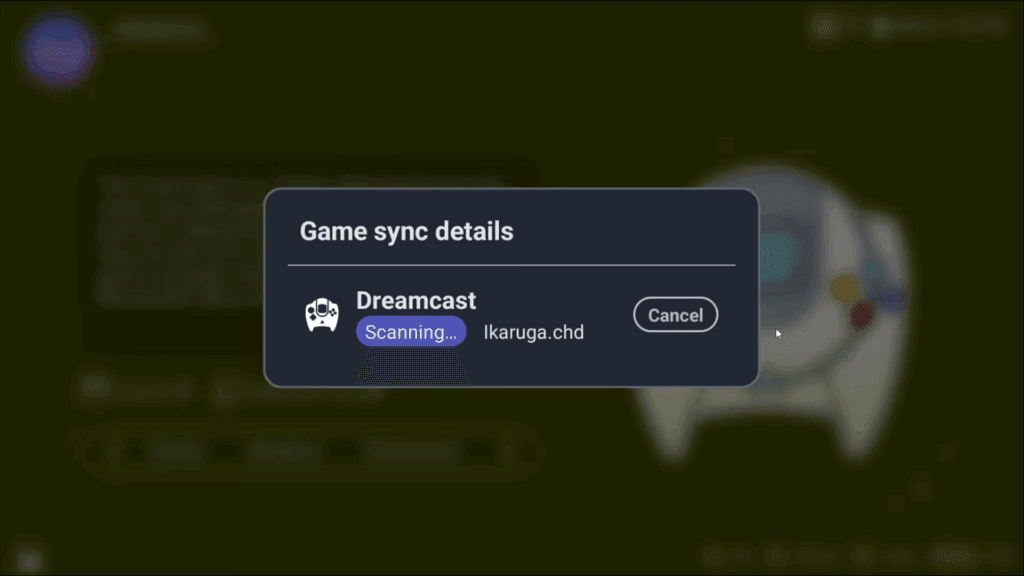
If you head into the Dreamcast platform from the home screen, you can see after all is done that it found artwork for most games and then some it didn’t.

It doesn’t seem to like my multi-disc games too.
Grid/List Game View
If you push Y, you can change the layout to a list format instead.
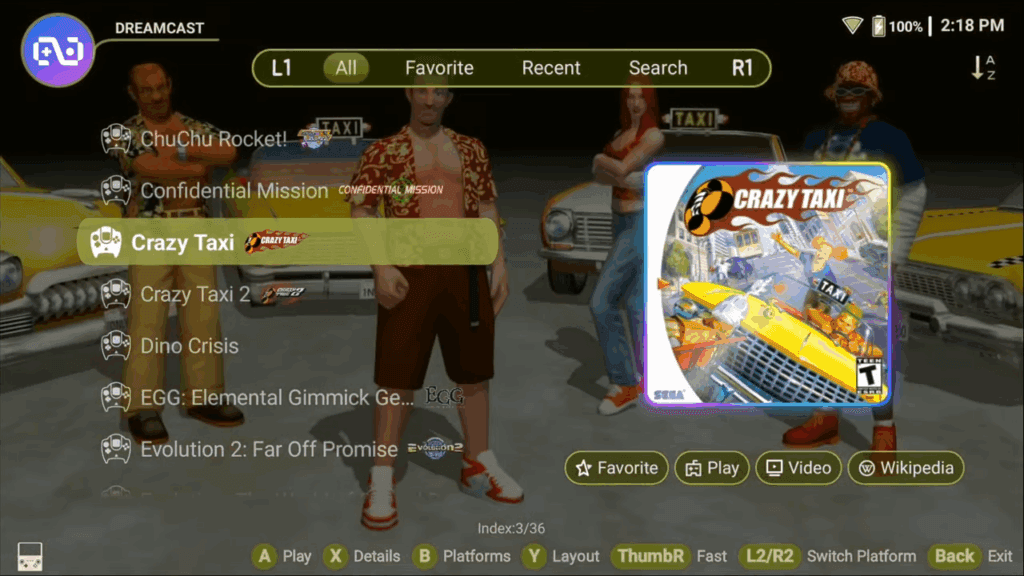
You can also see the background images are being shown in both layouts, thanks to us enabling that setting earlier.
Favorites & Details
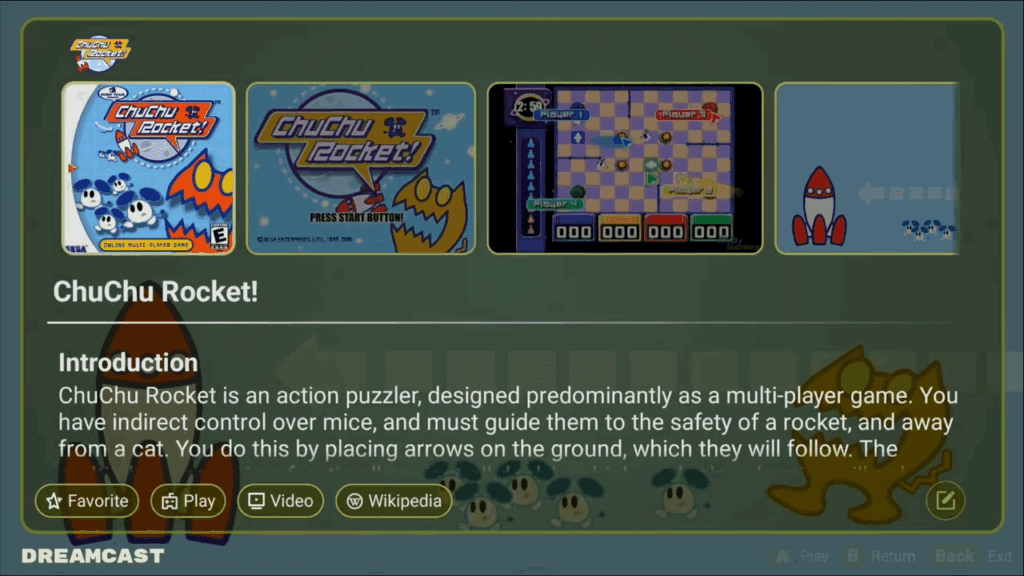
If you push X on a game, you can get details about it, add to Favorite, see YouTube videos and wikipedia information and so on.
Artwork not found
What do we do when artwork can’t be found?

Well, it’s actually pretty neat what Retroid did.
Push X on a game then select the Pencil icon bottom right.
You can try syncing the game individually, but download failure means no dice.
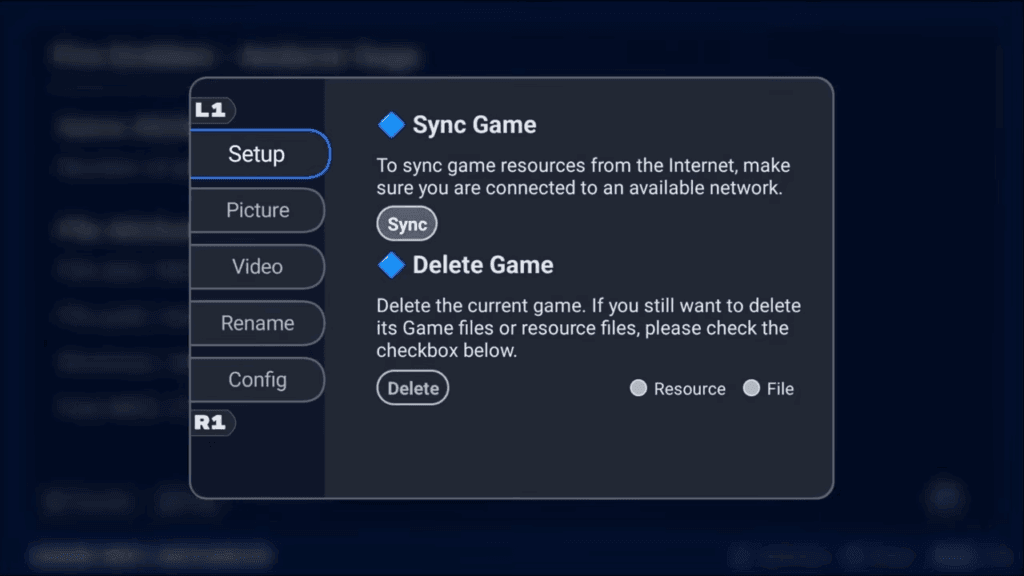
If we head to the Picture tab, we have options.
Replace from locally means you can upload a saved image yourself, but let’s choose replace from the internet.
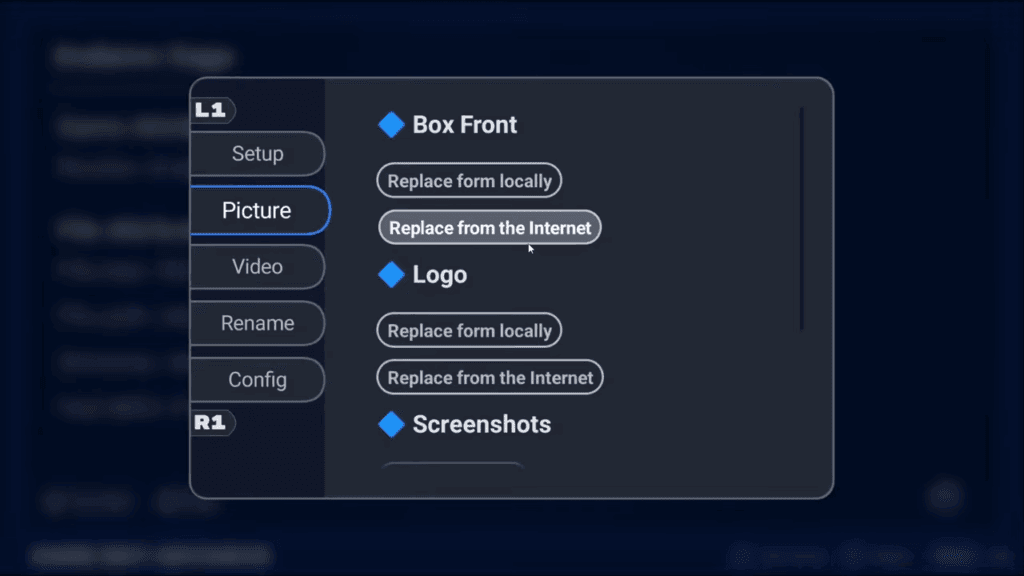
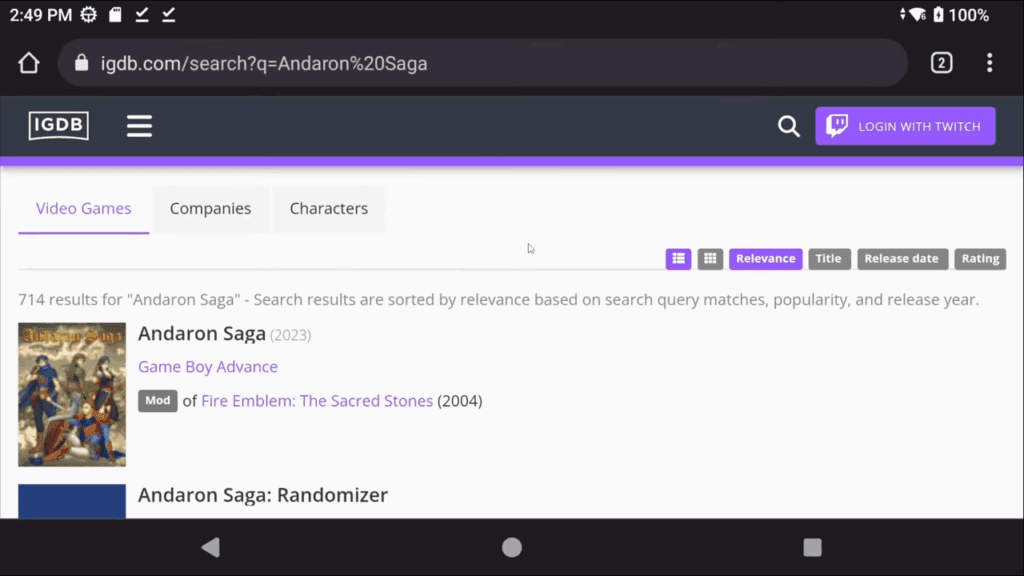
They use IGDB to download, and so for Fire Emblem Andaron Saga, it’s not finding it.
But I can see it here under the name Andaron Saga.
If you head to the Rename tab and enable the Game Information button, you can try searching for the game using the Search and choosing it from the list.

This didn’t work for this game, but you might get lucky.
Alternatively, back to the Picture tab, choose replace from the internet, and this is cool.
Head into the game and push and hold then download the box art image.
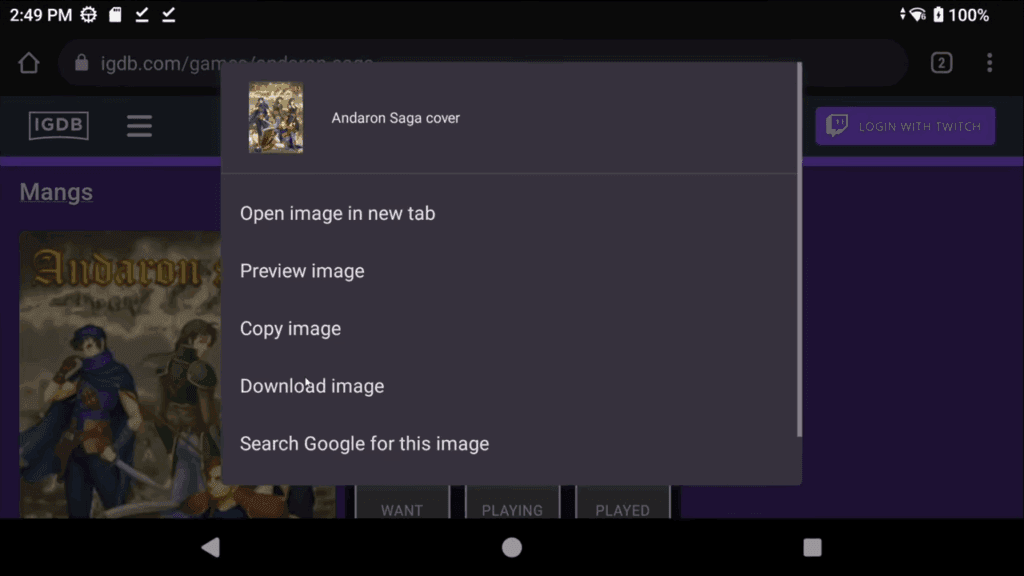
Let it download, then push the back button or home button to get back to the launcher and you’ll see the launcher found that image and is using it now.
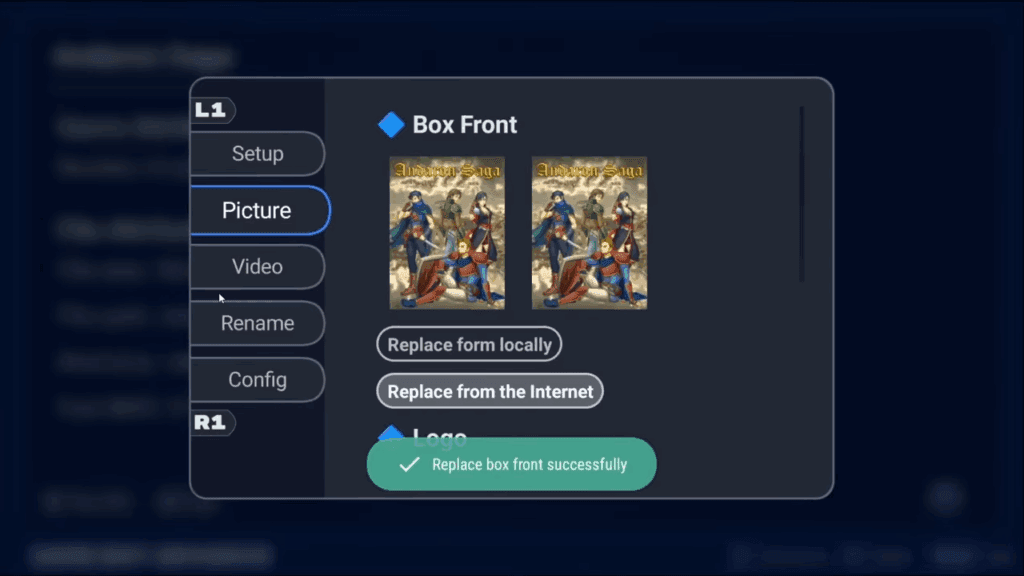
Actually really cool and you can do this with Logo and so on.
Just find an image via the browser, download it and it’ll use it.
I couldn’t figure out how to get video to work, unfortunately.
Launching Games
Let’s play some games.
Now remember, you have to tell the launcher which emulator or core to use, and I’m going to show you now what happens when you choose wrong.
So going to edit GBA, go to Config, and choose RetroArch 64 – mGBA which is what I use to play GBA.
Then I’m going to go launch a GBA game and we get an error, the specified core does not exist.
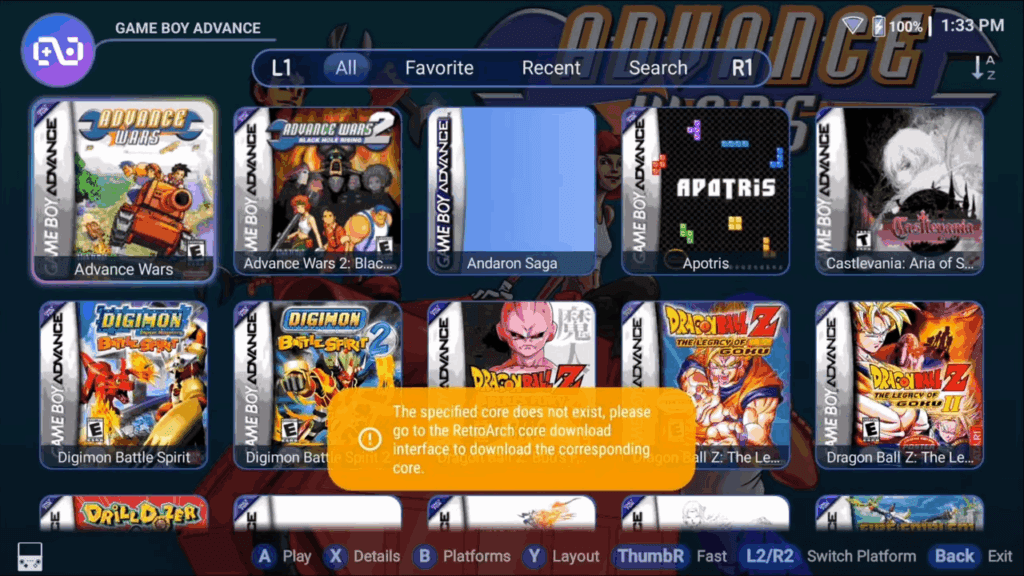
And yeah, that’s good, I didn’t install the mGBA core in RetroArch so if I go and do that very quickly, and head back and try and load the game, now it works.
It’s outside of this guide, but you will want to have all your emulators setup for them to work in the launcher.
Common errors for games not launching
Let’s look at another example, Dolphin for GameCube and Wii.
I see this error happens to a lot of people for different frontends.
“The specified file.. does not exist”

Well, you didn’t add the games to the emulator.
If you don’t add the games to the emulator, the emulator doesn’t know where to find them.
So open Dolphin > Plus icon bottom right > Find your GameCube folder and add it and your games will show up.
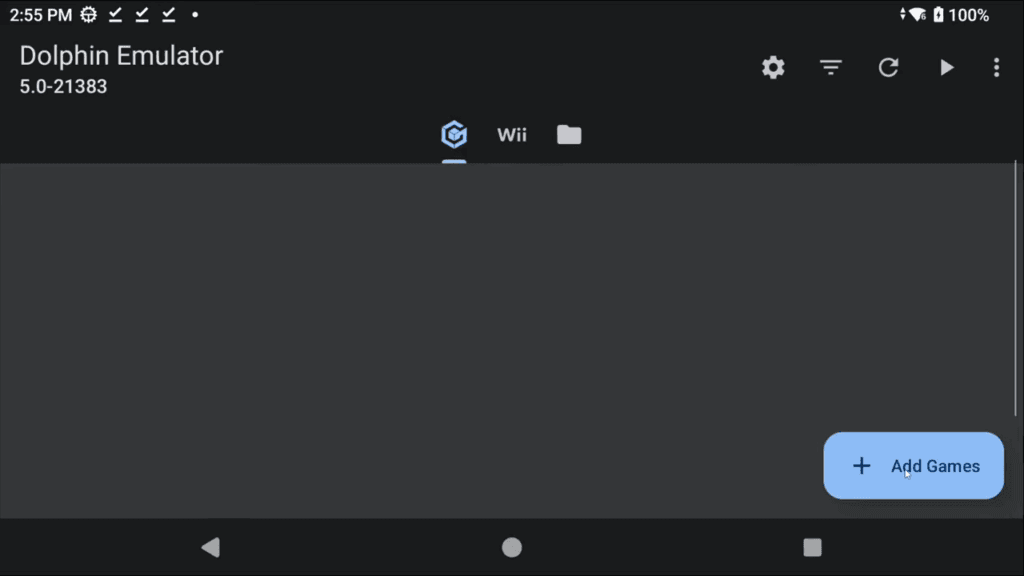

Now if you head back to the launcher and try and launch your games, they’ll launch.
Again, setup your emulators properly using my guides for each emulator and you’ll avoid these errors.
This specific error happens a lot with Duckstation and NetherSX2 as well, so now you know how to fix it.
Adding more Systems
Lastly, how do you add platforms for missing platforms like where’s Wii U and Switch and so on?
The real answer is you can’t, well you can, but it’s an absolute mess of a time and even I don’t know how.
If you click the Plus icon on the home screen, you can add your own Platform.
The problem is you need to know all the activity information, package names, and so on.
It’s just way too much.
