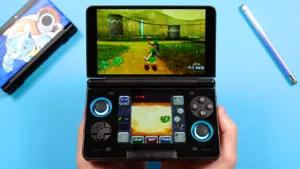
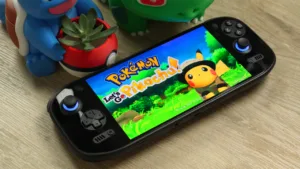
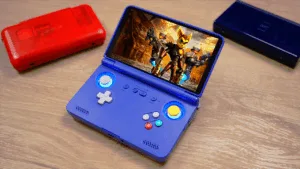
This guide will take you through how to prepare an SD card for use with any Android retro handheld & device. Examples being the AYN Odin 2, Retroid Pocket 4/4 Pro, Anbernic RG556 and more.
Recommended SD Cards & SD Card Reader
- SanDisk 1TB – If your device supports and can run up to and including Nintendo Switch.
- 512GB – If your device supports and can run up to and including Nintendo Switch.
- 256GB – If your device supports and can run up to and including Nintendo GameCube, Wii and Sony PlayStation 2.
- 128GB – If your device supports and can run up to and including Nintendo 64, and Sony PlayStation 1.
- 64GB – Limited uses for Android devices. Avoid unless absolutely necessary.
- SD Card Reader – Great SD Card reader option.
With an SD card and SD card reader purchased, you’re ready to move along.
Windows Method (if you don’t have the Android device yet)
Connect your SD card to the SD card reader and plug it into the USB port in your PC. The following will apply to Windows 10/11 users.
Open Windows File Explorer, and navigate to your USB Drive. Right click the USB Drive and select Format.


Now change the File system to exFAT. Change Allocation unit size to Default allocation size. You can also rename Volume label to anything you want, maybe the device name if that helps you.

Click Start when you’re ready and OK to the warning.
You now have a blank SD card that we can setup for ROMS & BIOS files. Let’s move on.
Folder Structure
With Android, there is no set structure for folders that you need to follow, but let me share how I have mine setup as it might help give you an idea for organization.
I create a Roms folder, and inside of that folder, I create folders for all of the systems that I want to play on that device.

Inside of each of those folders are my ROMS. Extremely simple and that’s all you need to do to setup your device ahead of time! Simply create a folder structure that works for you and your organizational habits, put your ROMS inside of those folders and you’re all set.
If you want a pre-configured set of ROM folders for easy organization, this zip can help: https://www.mediafire.com/file/9g3xk1dn1shcl7t/ROMs.zip/file or mirror link: https://mega.nz/file/nMcUnQjY#SGUrmv29AA0fVw-1pFXN2AVVA9t29QGc8wmraI_7hLA.
Once your Android device arrives, insert your SD card and you should receive a popup notification to setup your SD card. Simply click SET UP and it’s important that you choose Portable storage and not Internal storage. Once that’s done, you’re set!
Android Method
This method is for anyone that has the device already and wants to set it up using the device.
Insert your SD card and you should receive a popup notification to setup your SD card. Simply click SET UP and it’s important that you choose Portable storage and not Internal storage. Once that’s done, you’re set!
You can now follow the Folder Structure section above to setup a folder for all of your ROMS & BIOS files.


Hey Joey.
I recently purchased an anbernic rg556 and have been having problems setting it up. The SD card that came with the device was corrupted so I followed advice online to purchase my own memory card.
I bought a Sandisk 512gb Extreme Micro SD card. The device however is not detecting it, only showing Internal Storage option when SD is inserted.
I formatted to exFAT and NFTS, SD card detects fine on the laptop, but still not showing up on the anbernic.
Similarly it is not picking up any other memory cards, which are detected on other devices.
Am I missing something?
Yooo man I follow you on YouTube appreciate the work you put in! I’m getting my rp5 Wednesday and I’m honestly kinda stressed out about setting it up I feel stupid watching all the tutorials and not knowing what anything means lol if you can help a brotha out, one love!
Corey you are not stupid I just ordered a transparent blue Odin pro 2 off Mercari that on a steal and I’ve watched every single set up and review videos on the rp5 and Odin 2 I was gonna get the rp5 game cube color way until I found that Odin 2 pro for close to the same price