Why are we using Xenia Manager?
Xenia Manager is just, a must have.
It simplifies everything to do with Xenia Canary, the installation of it, game patches, automatic updates, per-game configurations, exporting saves – honestly it’s everything and we’re going to use it.
ROMs, Updates & DLC
First up, you’re going to need Xbox 360 games, updates and DLC, of course.
The ROMs Github is likely your best resource, right off of Google and that’s really the only nudge I can give you on this topic.
The games will be ISO formatted, as you do need to unzip them if you have them zipped.

As for where or how to store all of this, just simply create a ROMs folder anywhere you’d like on your PC, then create a folder called xbox360 and place everything inside of that.
Easiest way to do it all.
Installing Xenia Manager
So head to the Xenia Manager Github, and head to Releases, and download the latest release.
Xenia Manager just got updated to v3 as of the time of this guide so it’s great timing for us.
Either way, grab the latest zip under Assets, click it to download.
Then you want to extract that zip.
You can move the extracted folder anywhere you want – maybe you have an Emulators folder somewhere on your PC, or you can leave it where it is, it’s your call.
To prevent any issues, there are two other things you may need depending on your PC.
There’s the .NET 9 runtime and the Visual C++ Redistributable.
Both are on the Github and you should download both, run them and see if they install or if they tell you they’re already installed.
Installing Xenia Canary
Open the XeniaManager.exe.
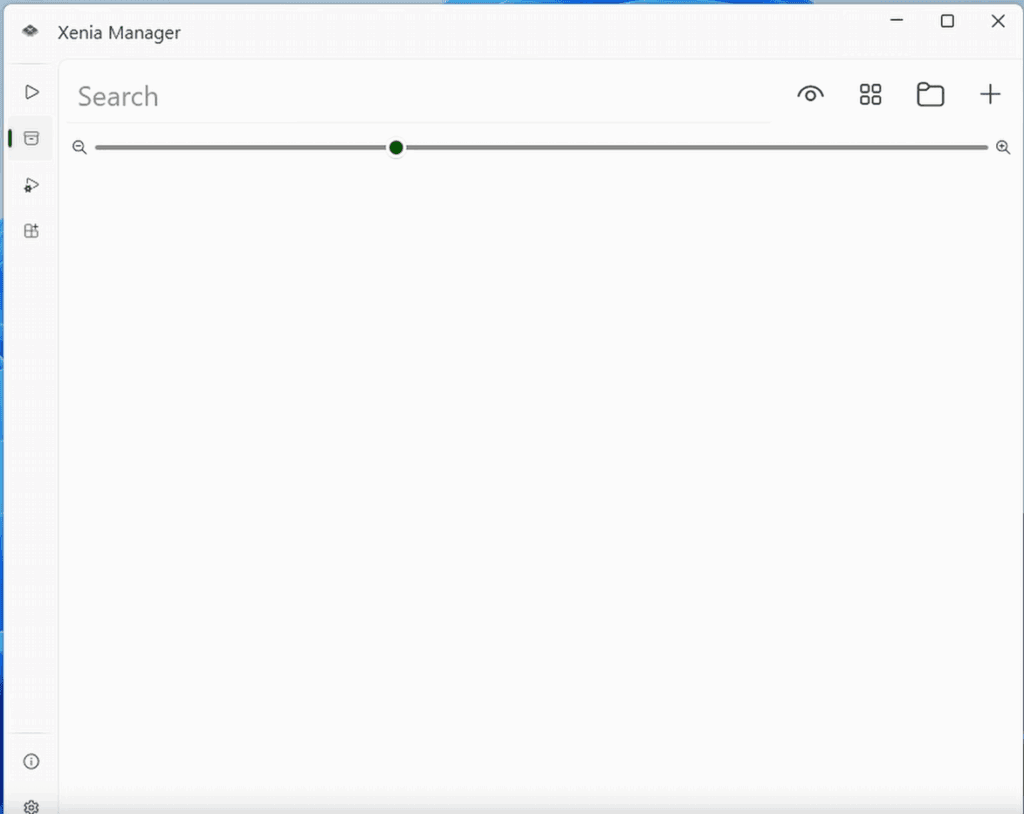
So first things first, we are greeted by a screen that kind of tells us nothing and that can be intimidating.

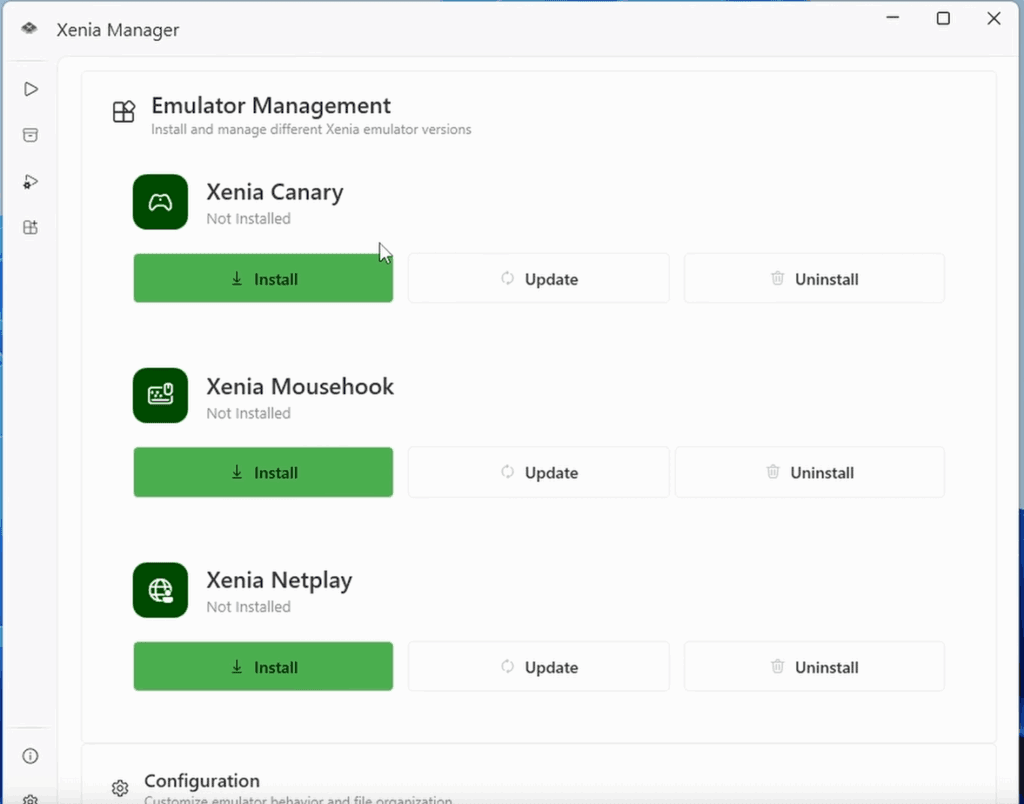
Before anything, we need to have Xenia Manager install Xenia Canary for us, so head to the fourth icon down on the left and you’ll see an Emulator Management page.
Let’s go ahead and click Install under Xenia Canary.

A new window will open, which is Xenia Canary the emulator and if you’ve ever owned an Xbox 360, you know we need to create a profile so go ahead and click Create Profile.

Now just give yourself a Gamertag name.
Once that’s done, you can go ahead and exit out of the window to get back to Xenia Manager.
Xenia Mousehook & Xenia Netplay
For those wondering, Xenia Mousehook is a way to use your mouse in supported games – not something we’ll be looking at in today’s guide, but that’s what that is.
Xenia Netplay is for doing netplay over the internet, and also not something we’ll be looking at today, but it does exist.
Both of these are separate forks of Xenia Canary, so not really an addon, but more of a secondary and third option.
Adding Games to Xenia Manager
Let’s head back to the second icon on the left which is our games library, or will be when we add our games.
Click the plus icon on the top right, and select your ISO formatted games – mine are in an xbox360 folder that we talked about earlier.

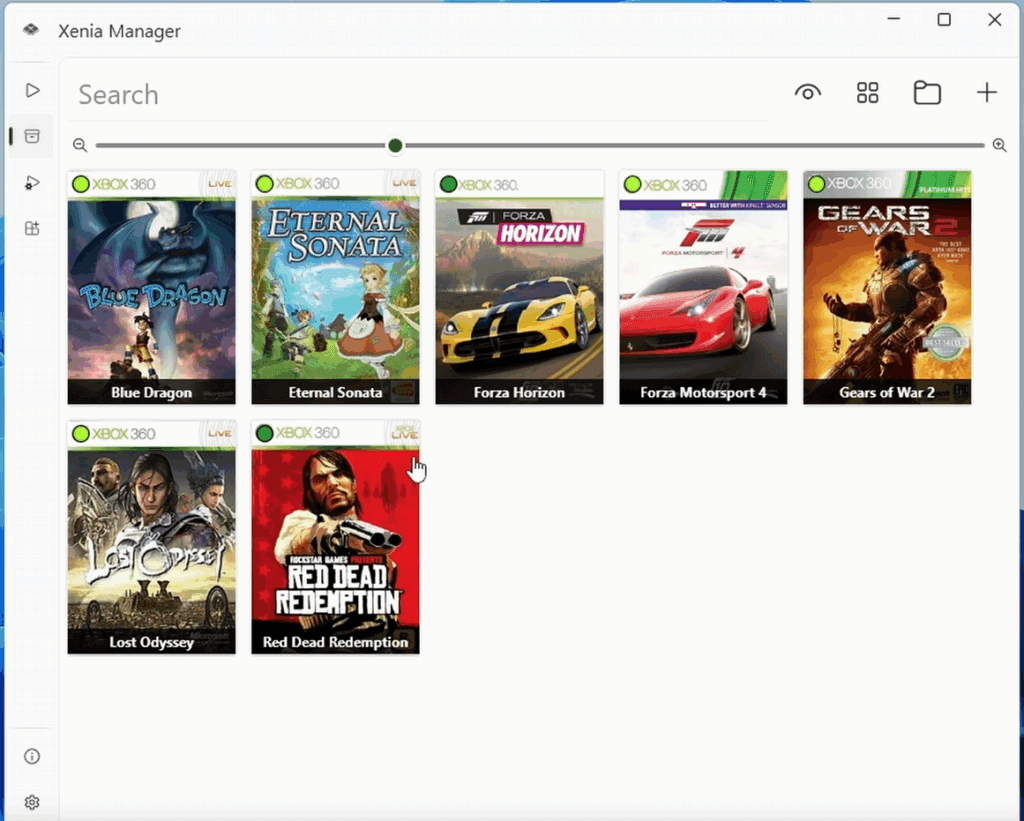
After a few seconds, your games should populate and you’ll see them here in a nice grid.
You can see them as a list instead by clicking the grid at the top and swap between – I prefer grid.

Now before we launch any games, there’s a lot you should know about and things you should do.
Game Menu
For example, right click a game and you get a full menu.
We’ll talk about Content in a bit.
Patches
Let’s go under Patches.
Choose Download Patches.
You’re going to get a window to choose your game from the list that matches your title ID – it’s obvious in this case, it’s the first one.
Now when we head back to Patches, you’re going to see Configure Patches, choose that.

And there we go – we now have access to this games patches.
So we can enable 60FPS if you want, or for other games, there’s a lot more options.
Think of patches as like mods that are built in, awesome.
Add shortcut to desktop or Steam
Continuing on, you can add a shortcut to the desktop or even to just Steam directly which is awesome.
Lastly, there’s an option here under Edit Game to edit Settings, but this isn’t the best place to do this.
Per-Game Settings
Instead, close out, and now head to the third icon on the left.
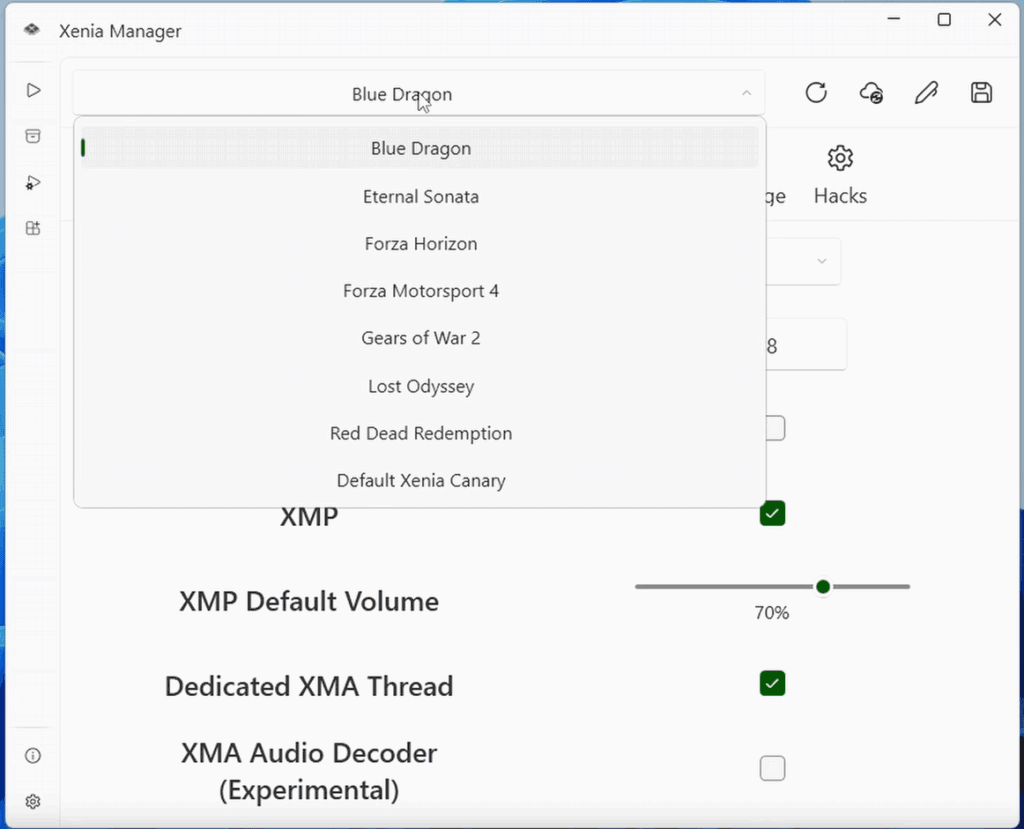
This is the Game Settings window.
You can see a drop down at the top with all of your games that have been added.

Optimized Settings
But here’s the best part about this – click the cloud icon on the top right and it will download the best known configuration of settings for this game.
You can see the window popup with what’s updated, and it tells us we need to save – so click close, then click the Save icon top right.
Think of all of this as per-game settings – something that was a struggle using Xenia Canary on its own, Xenia Manager has made an absolute breeze.
Enable Fullscreen
One setting that I do like to enable for all games is Fullscreen, so just enable Fullscreen under Display, and then click Save so that your games launch into Fullscreen mode.
Enable Vulkan
Another option is using Vulkan as a set API under Graphics.
Play around with it, it may work better in some games, and it may be worse in some games.
Xenia Manager Settings
At this point, let’s enable some Xenia Manager settings.
Head to the bottom left settings cog to get to the settings page.
You can change the theme here if it’s burning your eyes, but also let’s enable auto update Xenia to keep it updated.
You can also enable Automatic Save Backup, and this will put all your saves nice and neat into a Backup folder in the Xenia Manager folder.
Gives you a nice spot to backup your saves if you want to.
Lastly I like to enable double click to open game, mostly to avoid issues if I accidentally single click a game and it opens.

Controller Input
Now, as for pairing a controller to this – I’ve tried many controllers, all of them instantly recognized so I can’t say there’s an issue here, but in the game settings page under User Input, you can see Input System and a few options.
XInput is usually the one most use for controllers, but I’ve left this on Any and it works just fine.
Just keep an eye on this in case your controller isn’t working.
Loading & Exiting a Game
Alright let’s load a game, double click it from the game library to get it to load right up.
At this point, you can just play your games.
Like most emulators, you’ll see some stutters and freezes the first time you play the game, new areas, all that sort of thing as the shaders compile.
To exit, push escape on your keyboard and under file, choose exit.
Installing Updates & DLC
Okay so I promised to show you how to install updates and DLC and also to show the Content menu.
This method that I’m going to show for installing DLC and updates is a temporary method – it’s only because they just updated Xenia Manager to version 3 that they haven’t added it yet to the Content menu, but it will be there in the future.
So to install updates and DLC, open the game that you have it for – so Eternal Sonata for me.
Go to File > Install Content and navigate to your update or DLC file and select it.
Should get a popup saying success, you can now close out of everything and boot back in to have your content.
DLC is the exact same, it’ll usually just say content type marketplace in the popup, but the idea is still the same of install content, and choose the DLC file.
Seeing installed updates & DLC
Alright now if you head back to a game, Right click and go to Content, you can choose View Installed Content.
First window shows any saves you have, but the dropdown has more and if you choose Downloadable Content, you’ll see any DLC you’ve installed or Installer will show any updates you’ve installed.
You can use the trash can icon to delete if you want.
Syncthing
Xenia Canary can easily be sync’d with other Xenia Canary instances using Syncthing.