Best devices for Switch Emulation on Android
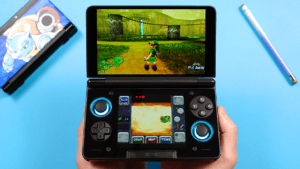
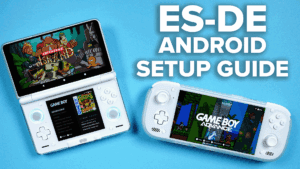
If you’re curious what the best devices are for Switch emulation, here’s a few of my top picks:
Installation
Go ahead and download Eden via Github.
If you have a choice of Standard, Optimized or Legacy – go ahead with Standard.
Open the APK and install it.
Setup
Accept any legal disclaimers and then Get Started.
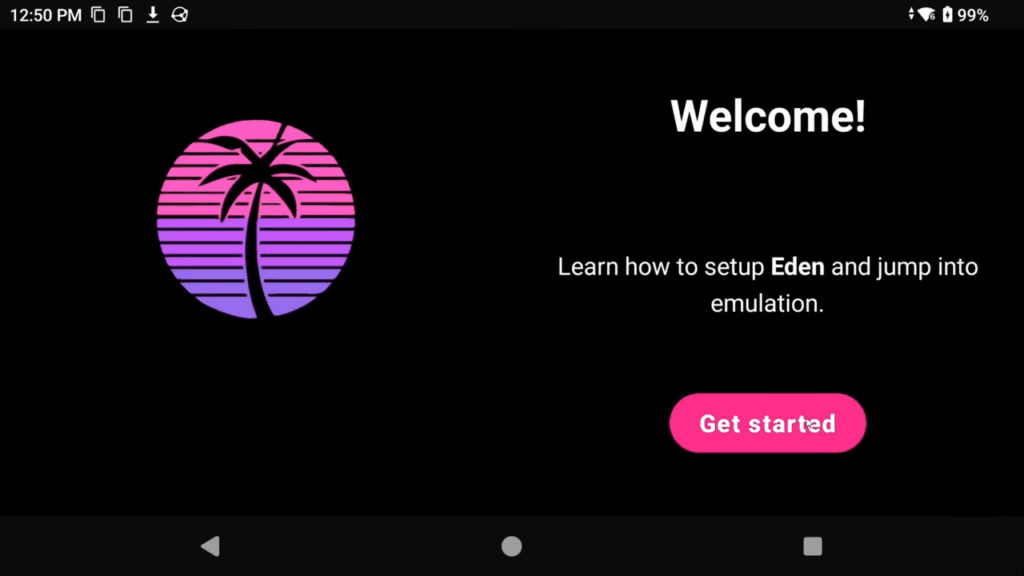
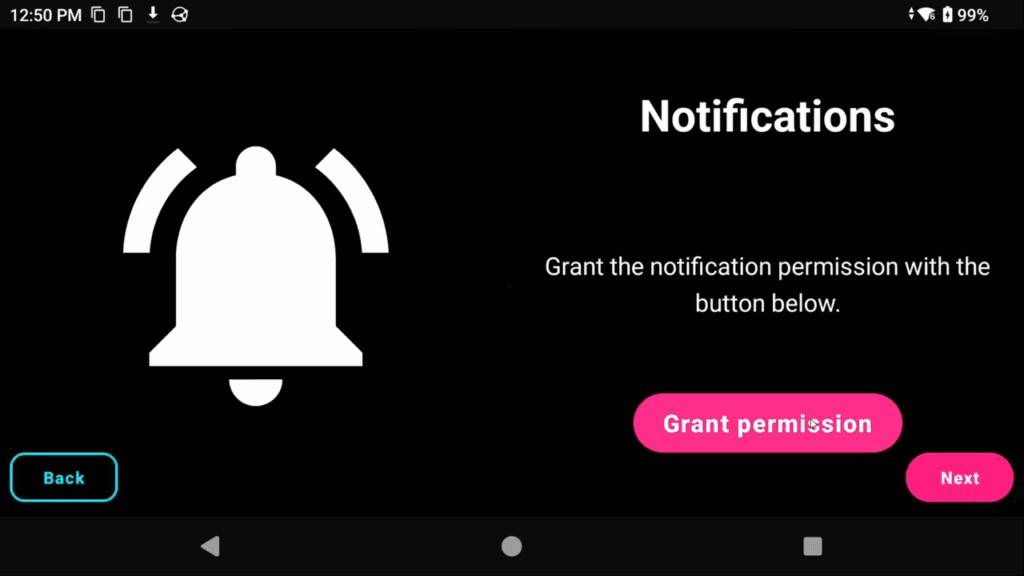
Grant permission for notifications.
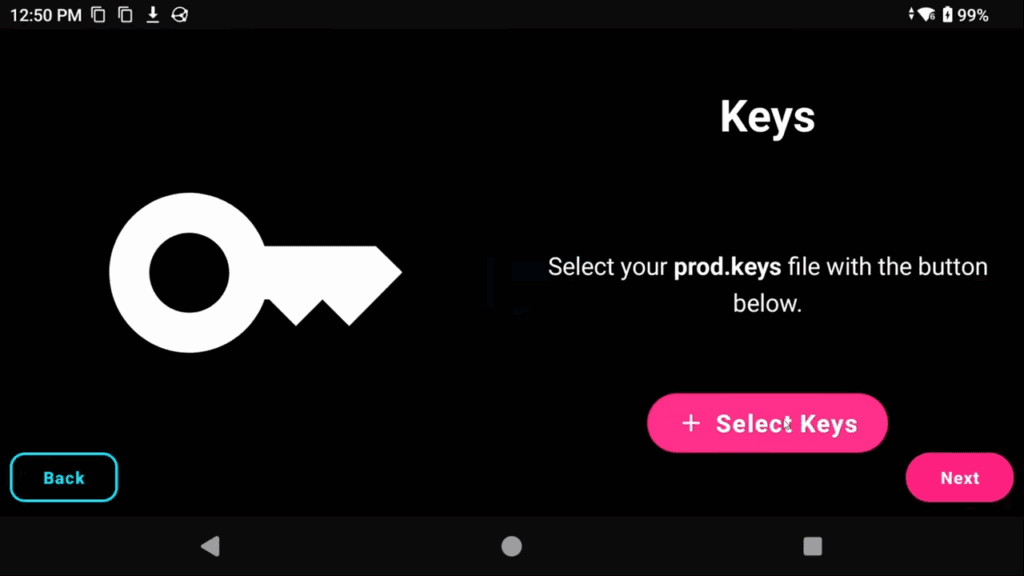
We now need to select your prod.keys file.
For a variety of reasons, I can’t tell you where to get this, but it’s a simple Google and Reddit usually comes through.
Extract the zip if it came zipped and then back in the Switch emulator, choose Select Keys and navigate to the prod.keys file and select it.
On the next screen, it’s going to ask you to Install firmware.
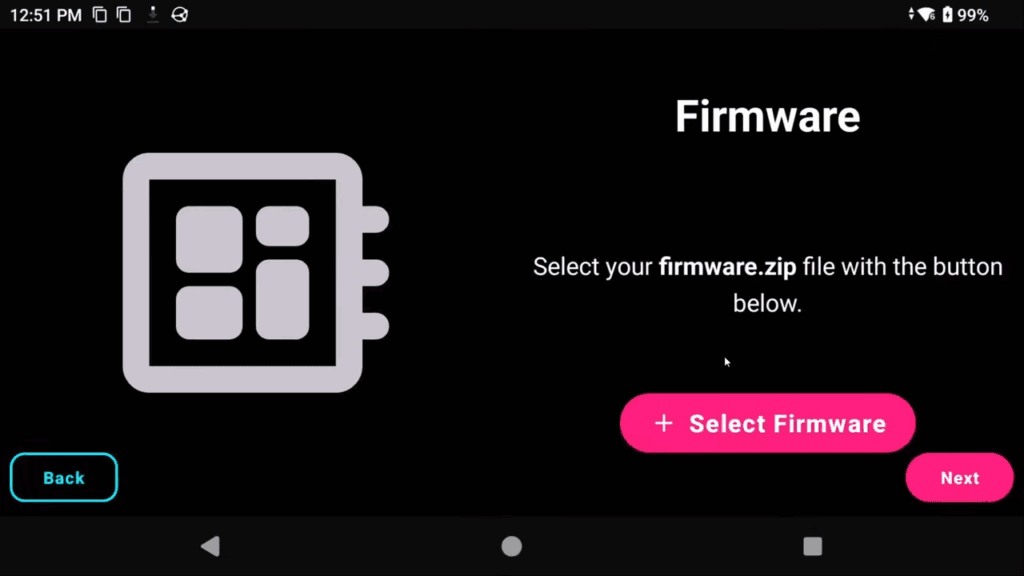
Your firmware needs to match the version of your prod.keys.
Again, for a variety of reasons, I can’t tell you where to get this, but if it’s once again a simple Google with Reddit again helping you quite a bit.
Do not extract the zip, but open the Switch emulator and choose Select Firmware and navigate to the firmware zip file and select it.
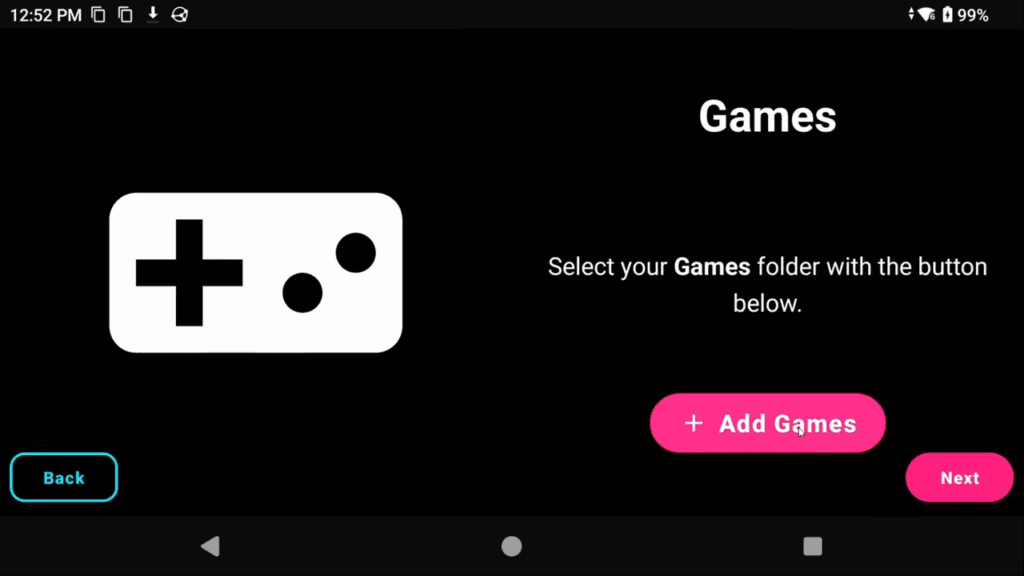
Click Next and now we have to tell the emulator where our Switch games are.
For the third time, and for a variety of reasons, I can’t tell you where to get Switch games, but once again, Google and Reddit have you easily covered with options.
Click Add Games and select the folder that your Switch games are in.
You’re done! Click Continue.
Settings
Let’s go ahead and configure some settings before we start up any games.
Controls
Head to the Settings cog top left from the home screen, then select Controls.
Choose Player 1.
For Controller type, the default is Pro controller, go ahead and change it to Handheld.

Under Input mapping filter, choose your handheld or controller.

It should automatically map your controller.
If you don’t have an option, then scroll down and start to map the Switch controller buttons to your handheld or controller.
I typically don’t map Home or Capture.
Be careful with mapping the sticks and read the directions on the screen. Remap a few times to ensure you did it correctly – but you’ll know if you didn’t when you try a game and your stick doesn’t move properly.

GPU driver manager
Custom drivers are important for Switch emulation and can be the reason your games run or don’t run.
Head to the Settings cog top left from the home screen, then select GPU driver manager.
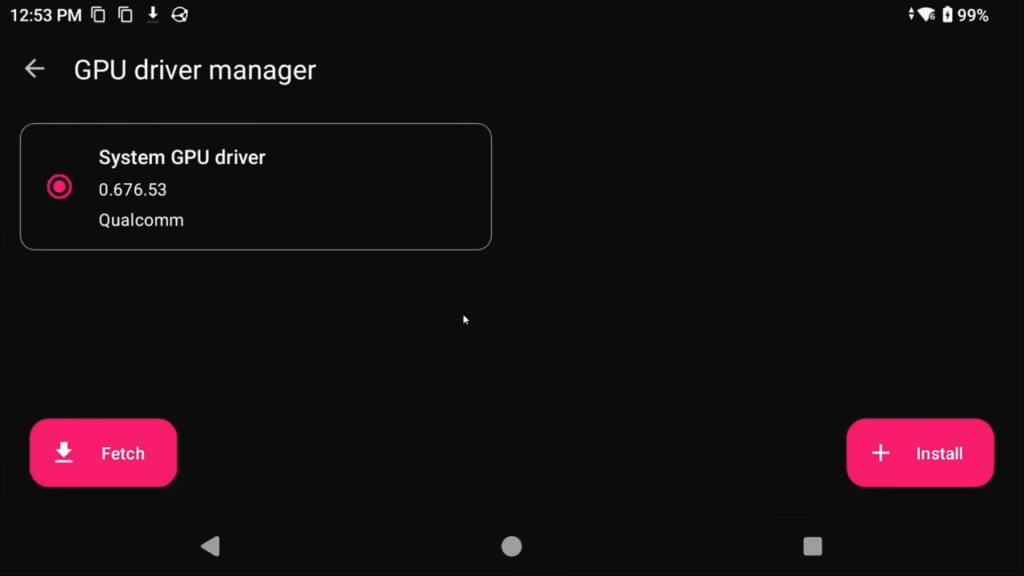
For those with Snapdragon devices, you may have custom drivers available to you.
Click Fetch bottom left and Eden will now tell you if there’s a recommended driver to use.
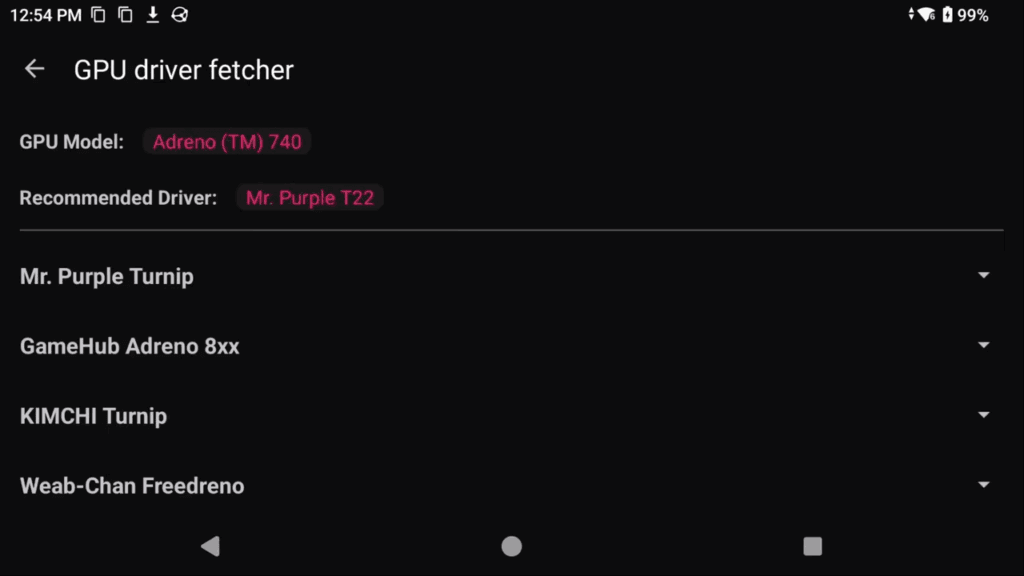
In this scenario, it’s recommending a Mr. Purple Turnip driver T22.
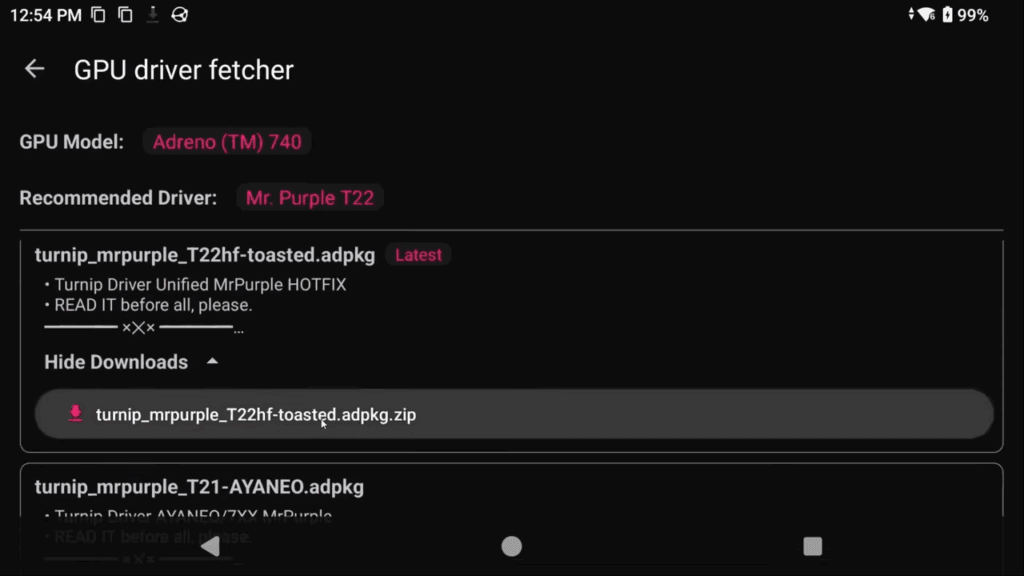
Go ahead and click Mr. Purple Turnip, then Show Downloads and click the driver to download it.
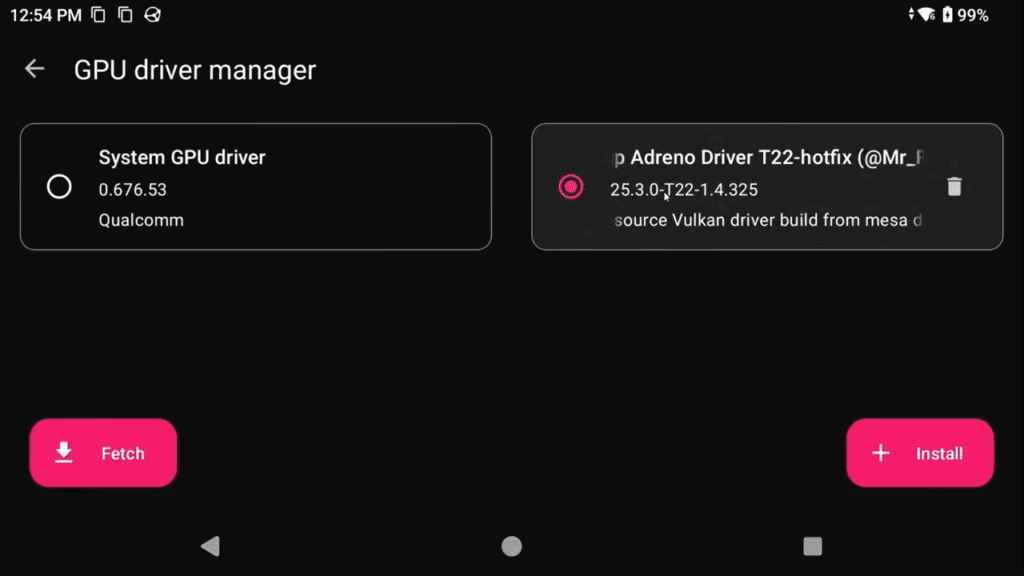
Back out and make sure it’s selected to use it.
Per-Game Settings
From the home screen, push and hold on a game.
In this menu, you can setup per-game settings.
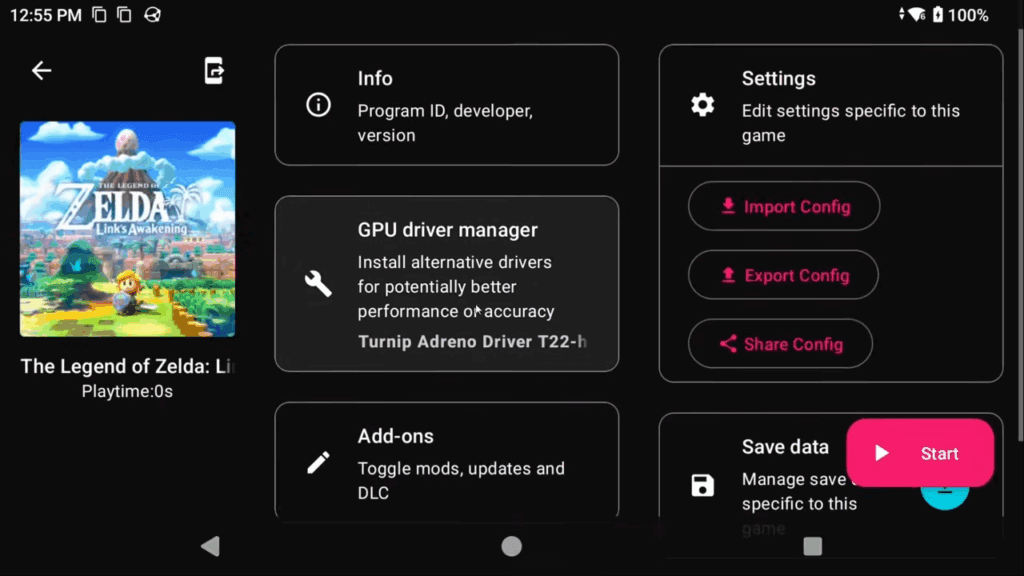
For example, if you head into Settings from here, maybe this game works well in Docked mode or vice versa, or it’s not working well with asynchronous shaders and so on.
You can also set a GPU driver for this specific game, if you found one works better than others.
Mods
In the Addons section, you can see any updates, DLC or mods that you have installed.
From this screen, you can install mods by click Install.
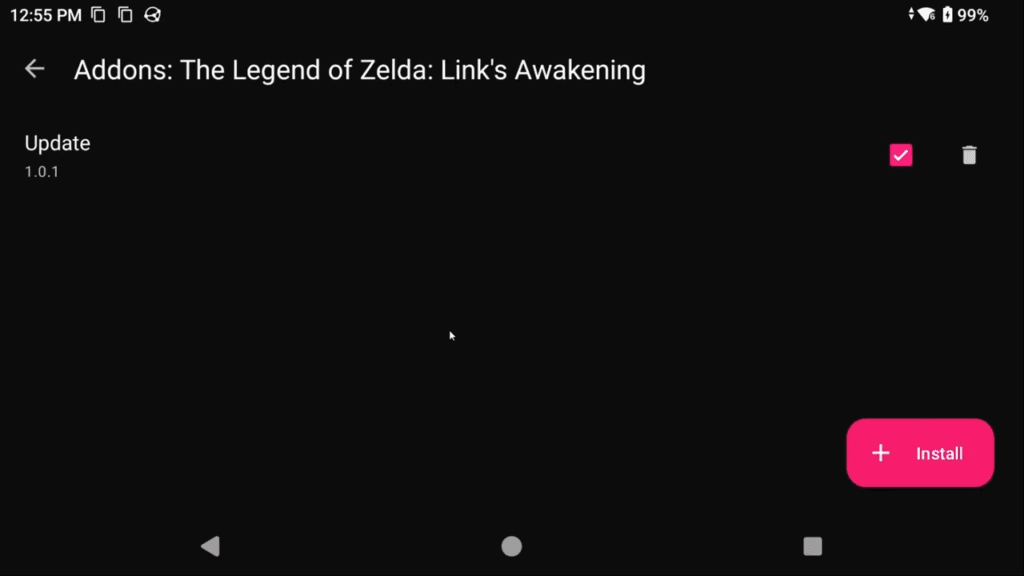
A popup will show up telling you that you need to select the folder that contains the cheats, romfs or exefs folders.

Typically, that means the folder right above it, that has the game’s title ID.
See video for an example using Link’s Awakening.
Once you select it, it’ll install and you can enable or disable the mod as you want.
In-game Menu
Go ahead and click a game from the home screen to boot into it.
Swipe up and hit the Back arrow, or swipe in from the left or push the Back button on your handheld or controller to get the in-game menu.

Remove on-screen touch controls
The first thing we want to do is remove the on-screen touch controls.
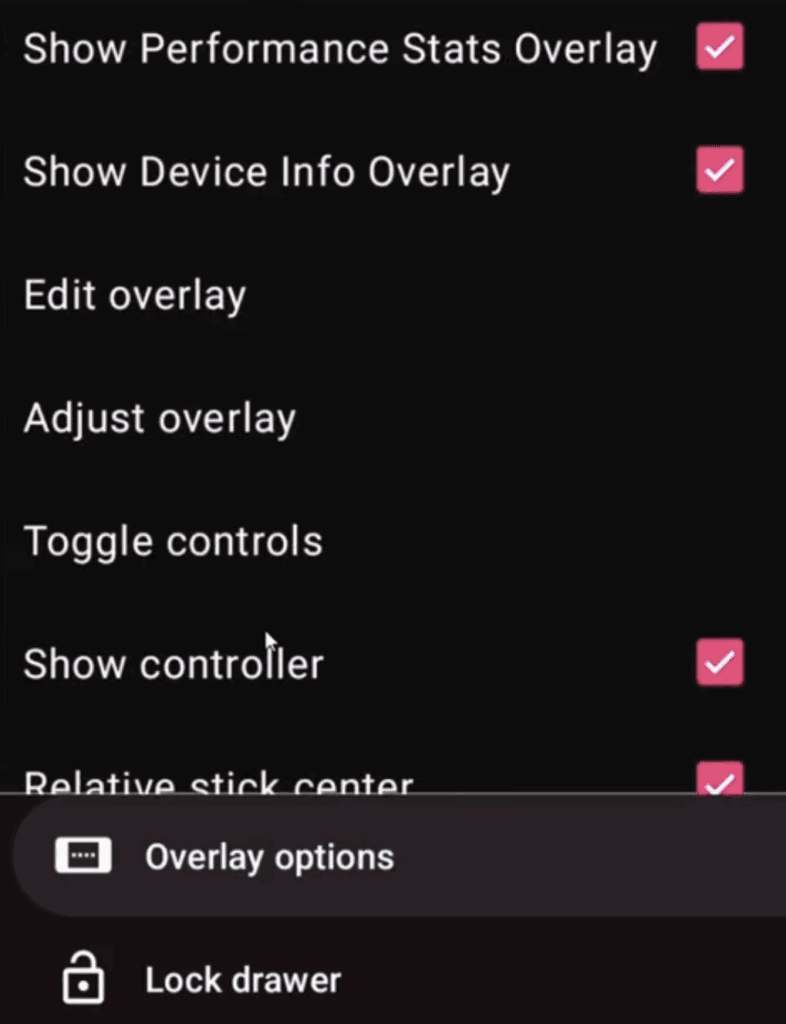
Head to Overlay options > Toggle controls > Toggle all > OK.

Show/hide FPS & Device Info
Head to Overlay options > Show Performance Stats Overlay or Show Device Info Overlay.
Syncthing
Switch can easily be sync’d across all operating systems using Syncthing and any Switch emulator as they all have the same structure.

